
Arrows <> HubSpot Setup Guide
A comprehensive guide to connecting and using Arrows with HubSpot
Create, share, and access the data from your Arrows mutual action plans without leaving HubSpot.
As customers take action and progress through the plan, data syncs directly back into HubSpot, avoiding data silos and creating customer journey transparency.
You can then leverage HubSpot’s automations and workflows to scale your onboarding process, while using HubSpot’s reports to determine the impact. For more details on managing your entire onboarding process without having to leave your CRM, read the article below.
What you’ll need:
A HubSpot account
An Arrows account
Let’s get started!
Installing the HubSpot App
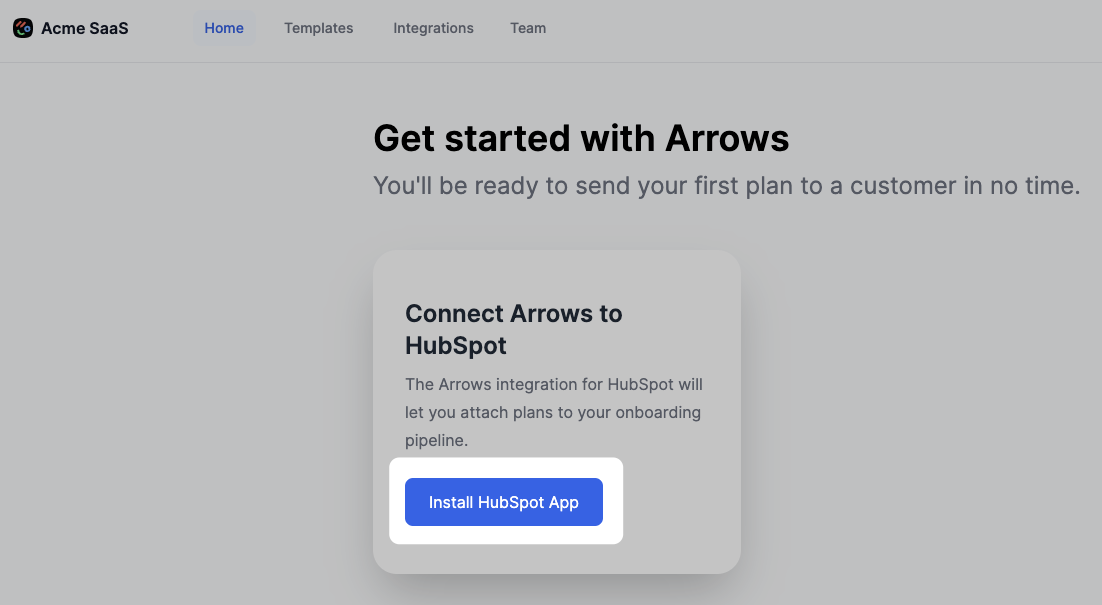
Log into your Arrows account and select Install HubSpot App
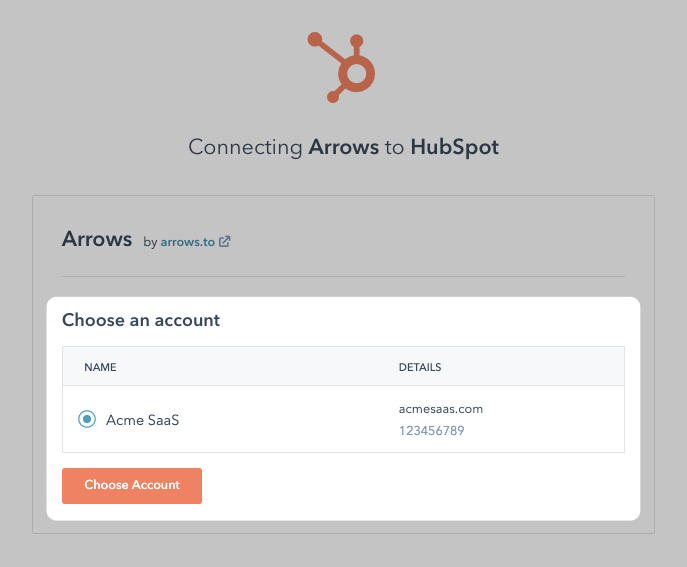
After you confirm your HubSpot login information, you’ll be able to select the instance you which to connect. Select Choose Account to continue
Select Connect app to finish authentication!
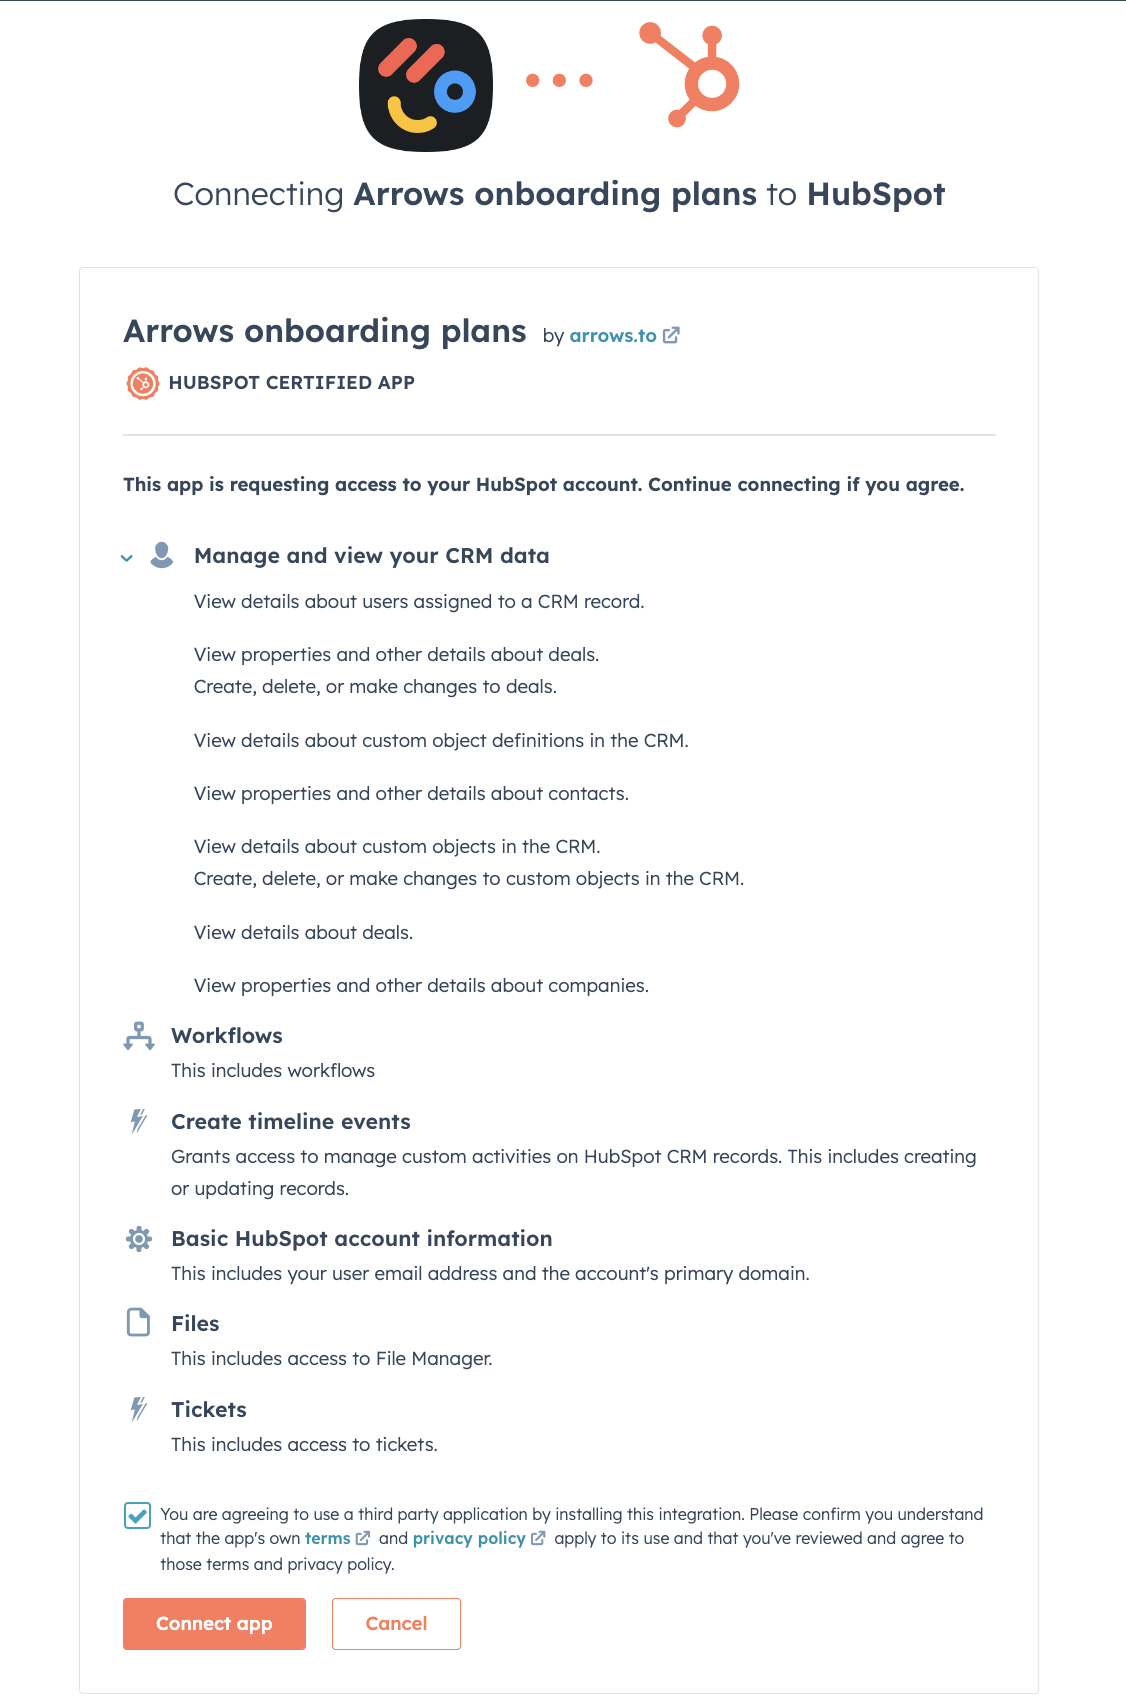
You’ll be redirected to the Arrows dashboard when the connection is successfully configured.
Add the Arrows app card to your HubSpot records
In HubSpot, click on Settings > Integrations > Connected Apps > Arrows
You can add any of these cards to your HubSpot views, but for now we’ll start with adding a CRM card to the record right sidebar. This way, the Arrows card will show up in the detailed view of your HubSpot records.
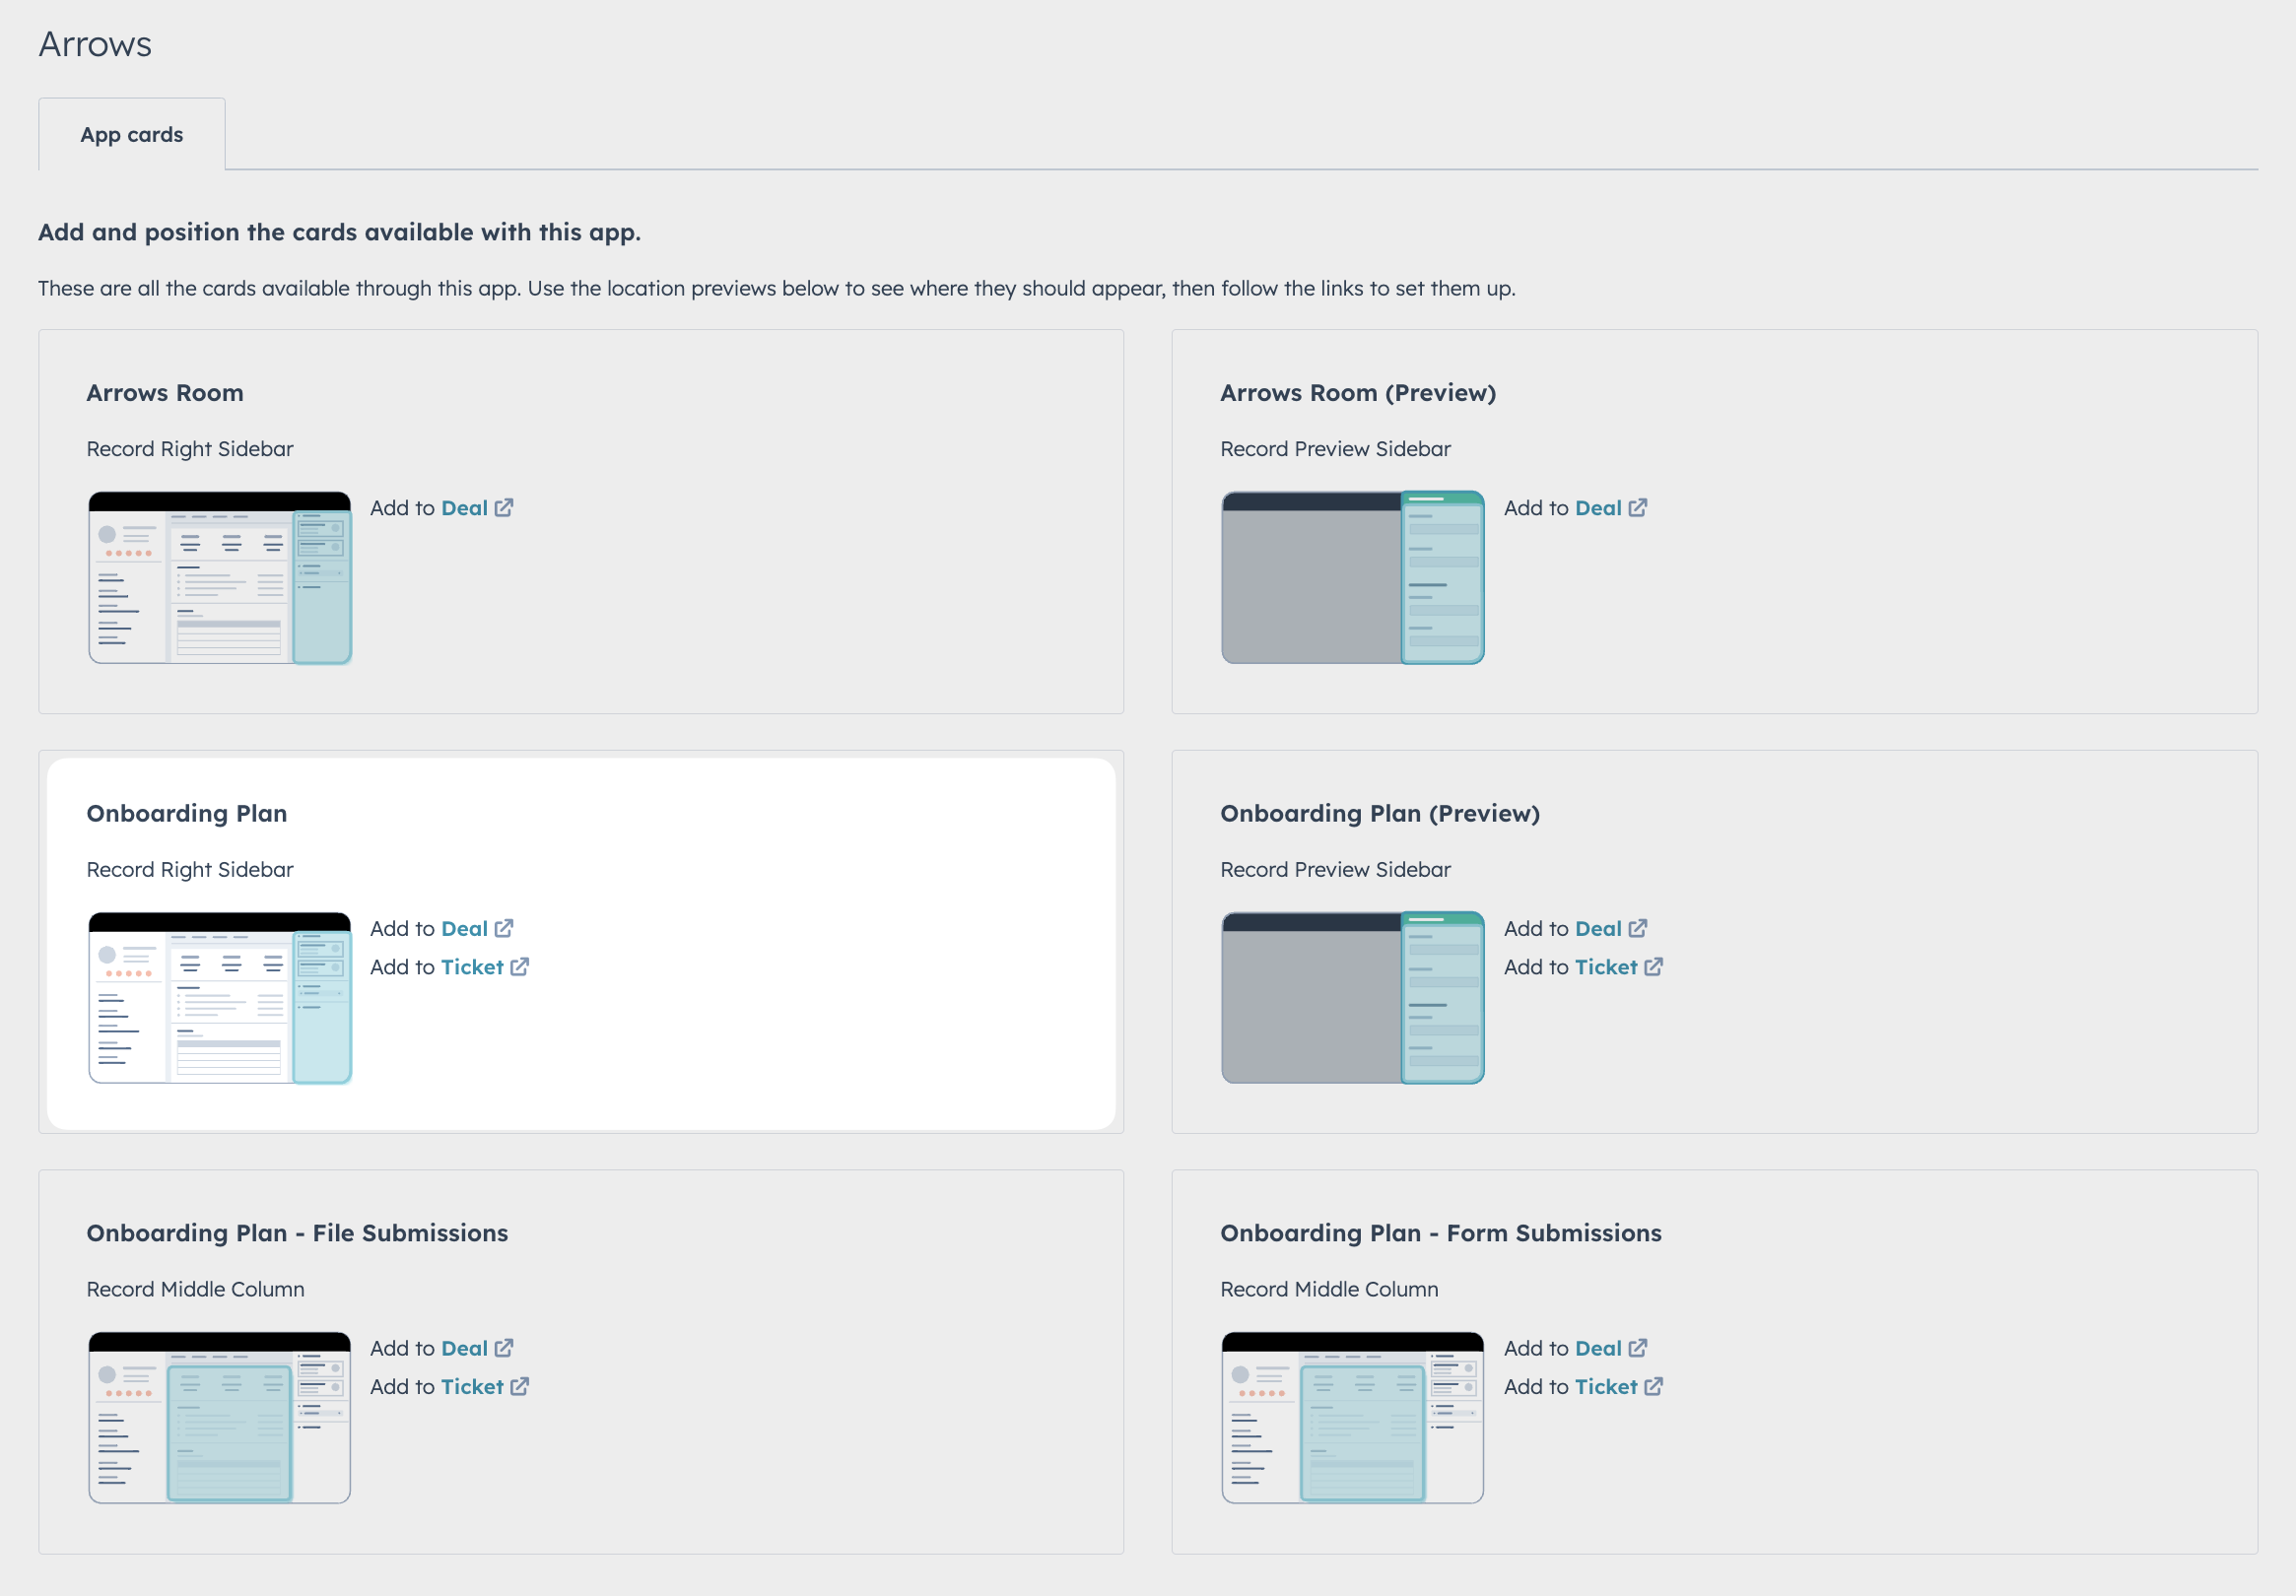
Click on “Add to Deal” or “Add to Ticket” depending on which HubSpot object you’ll be connecting Arrows to.
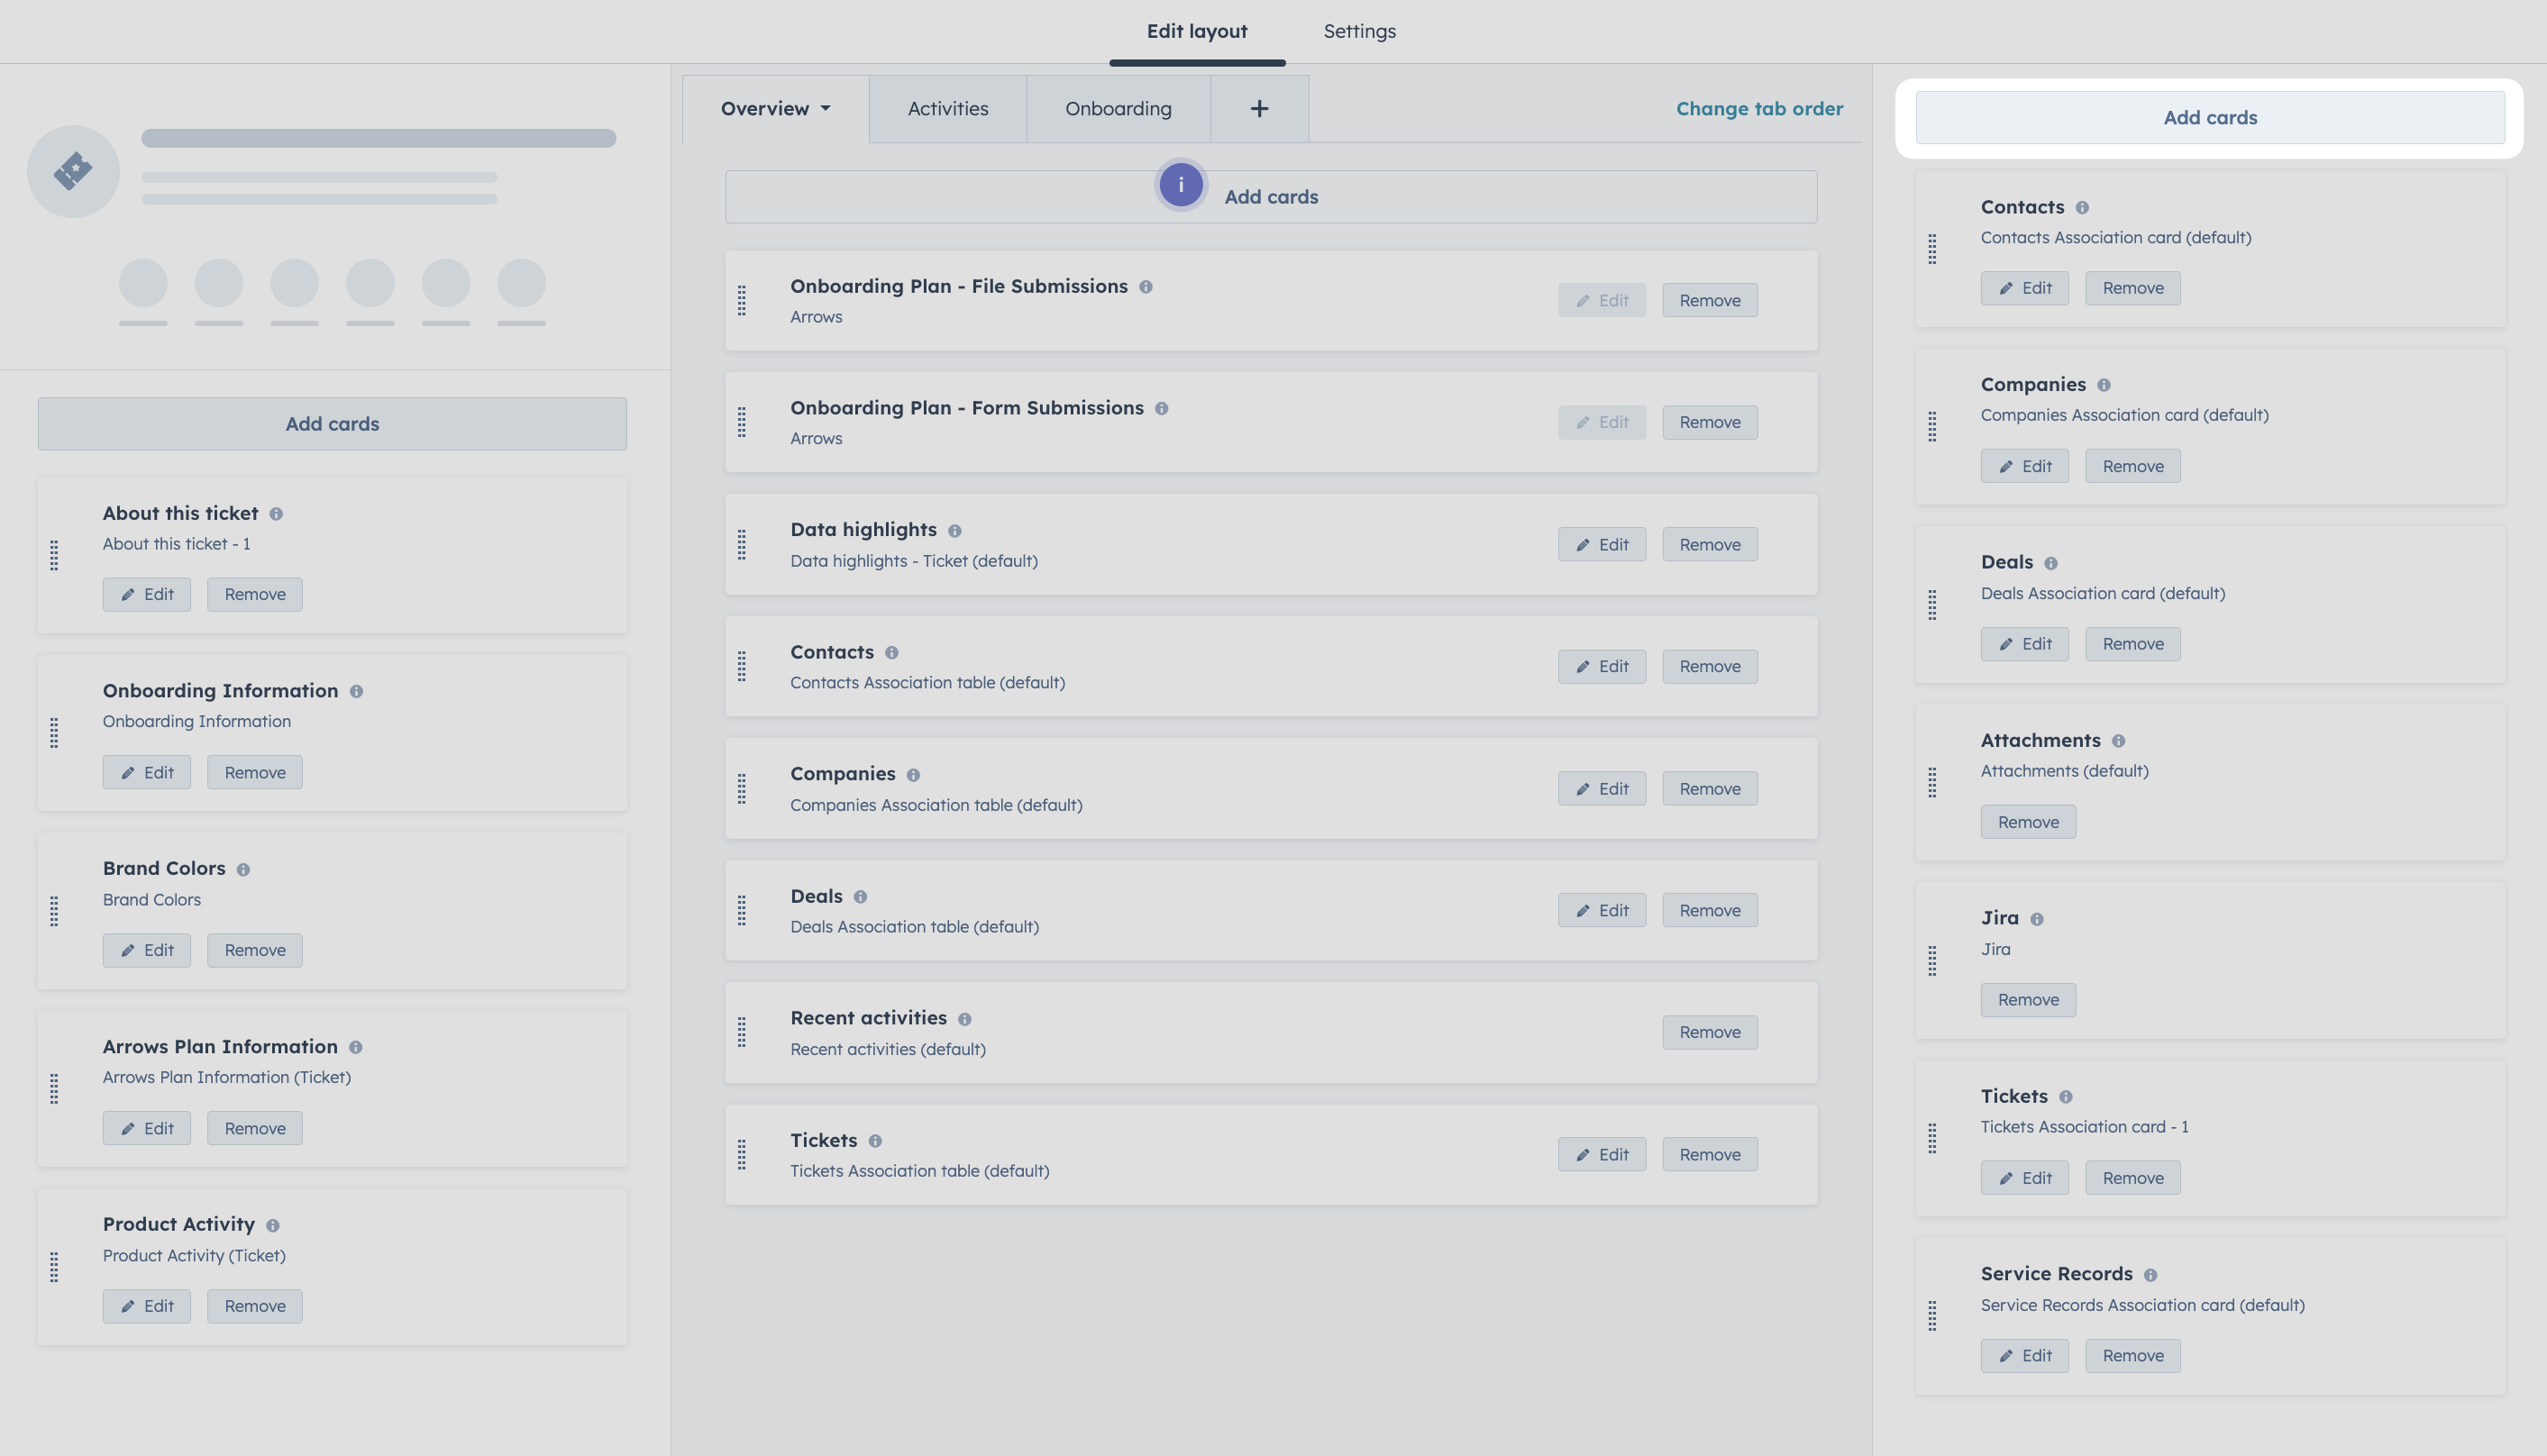
Click on “Add cards” in the top right corner of the page
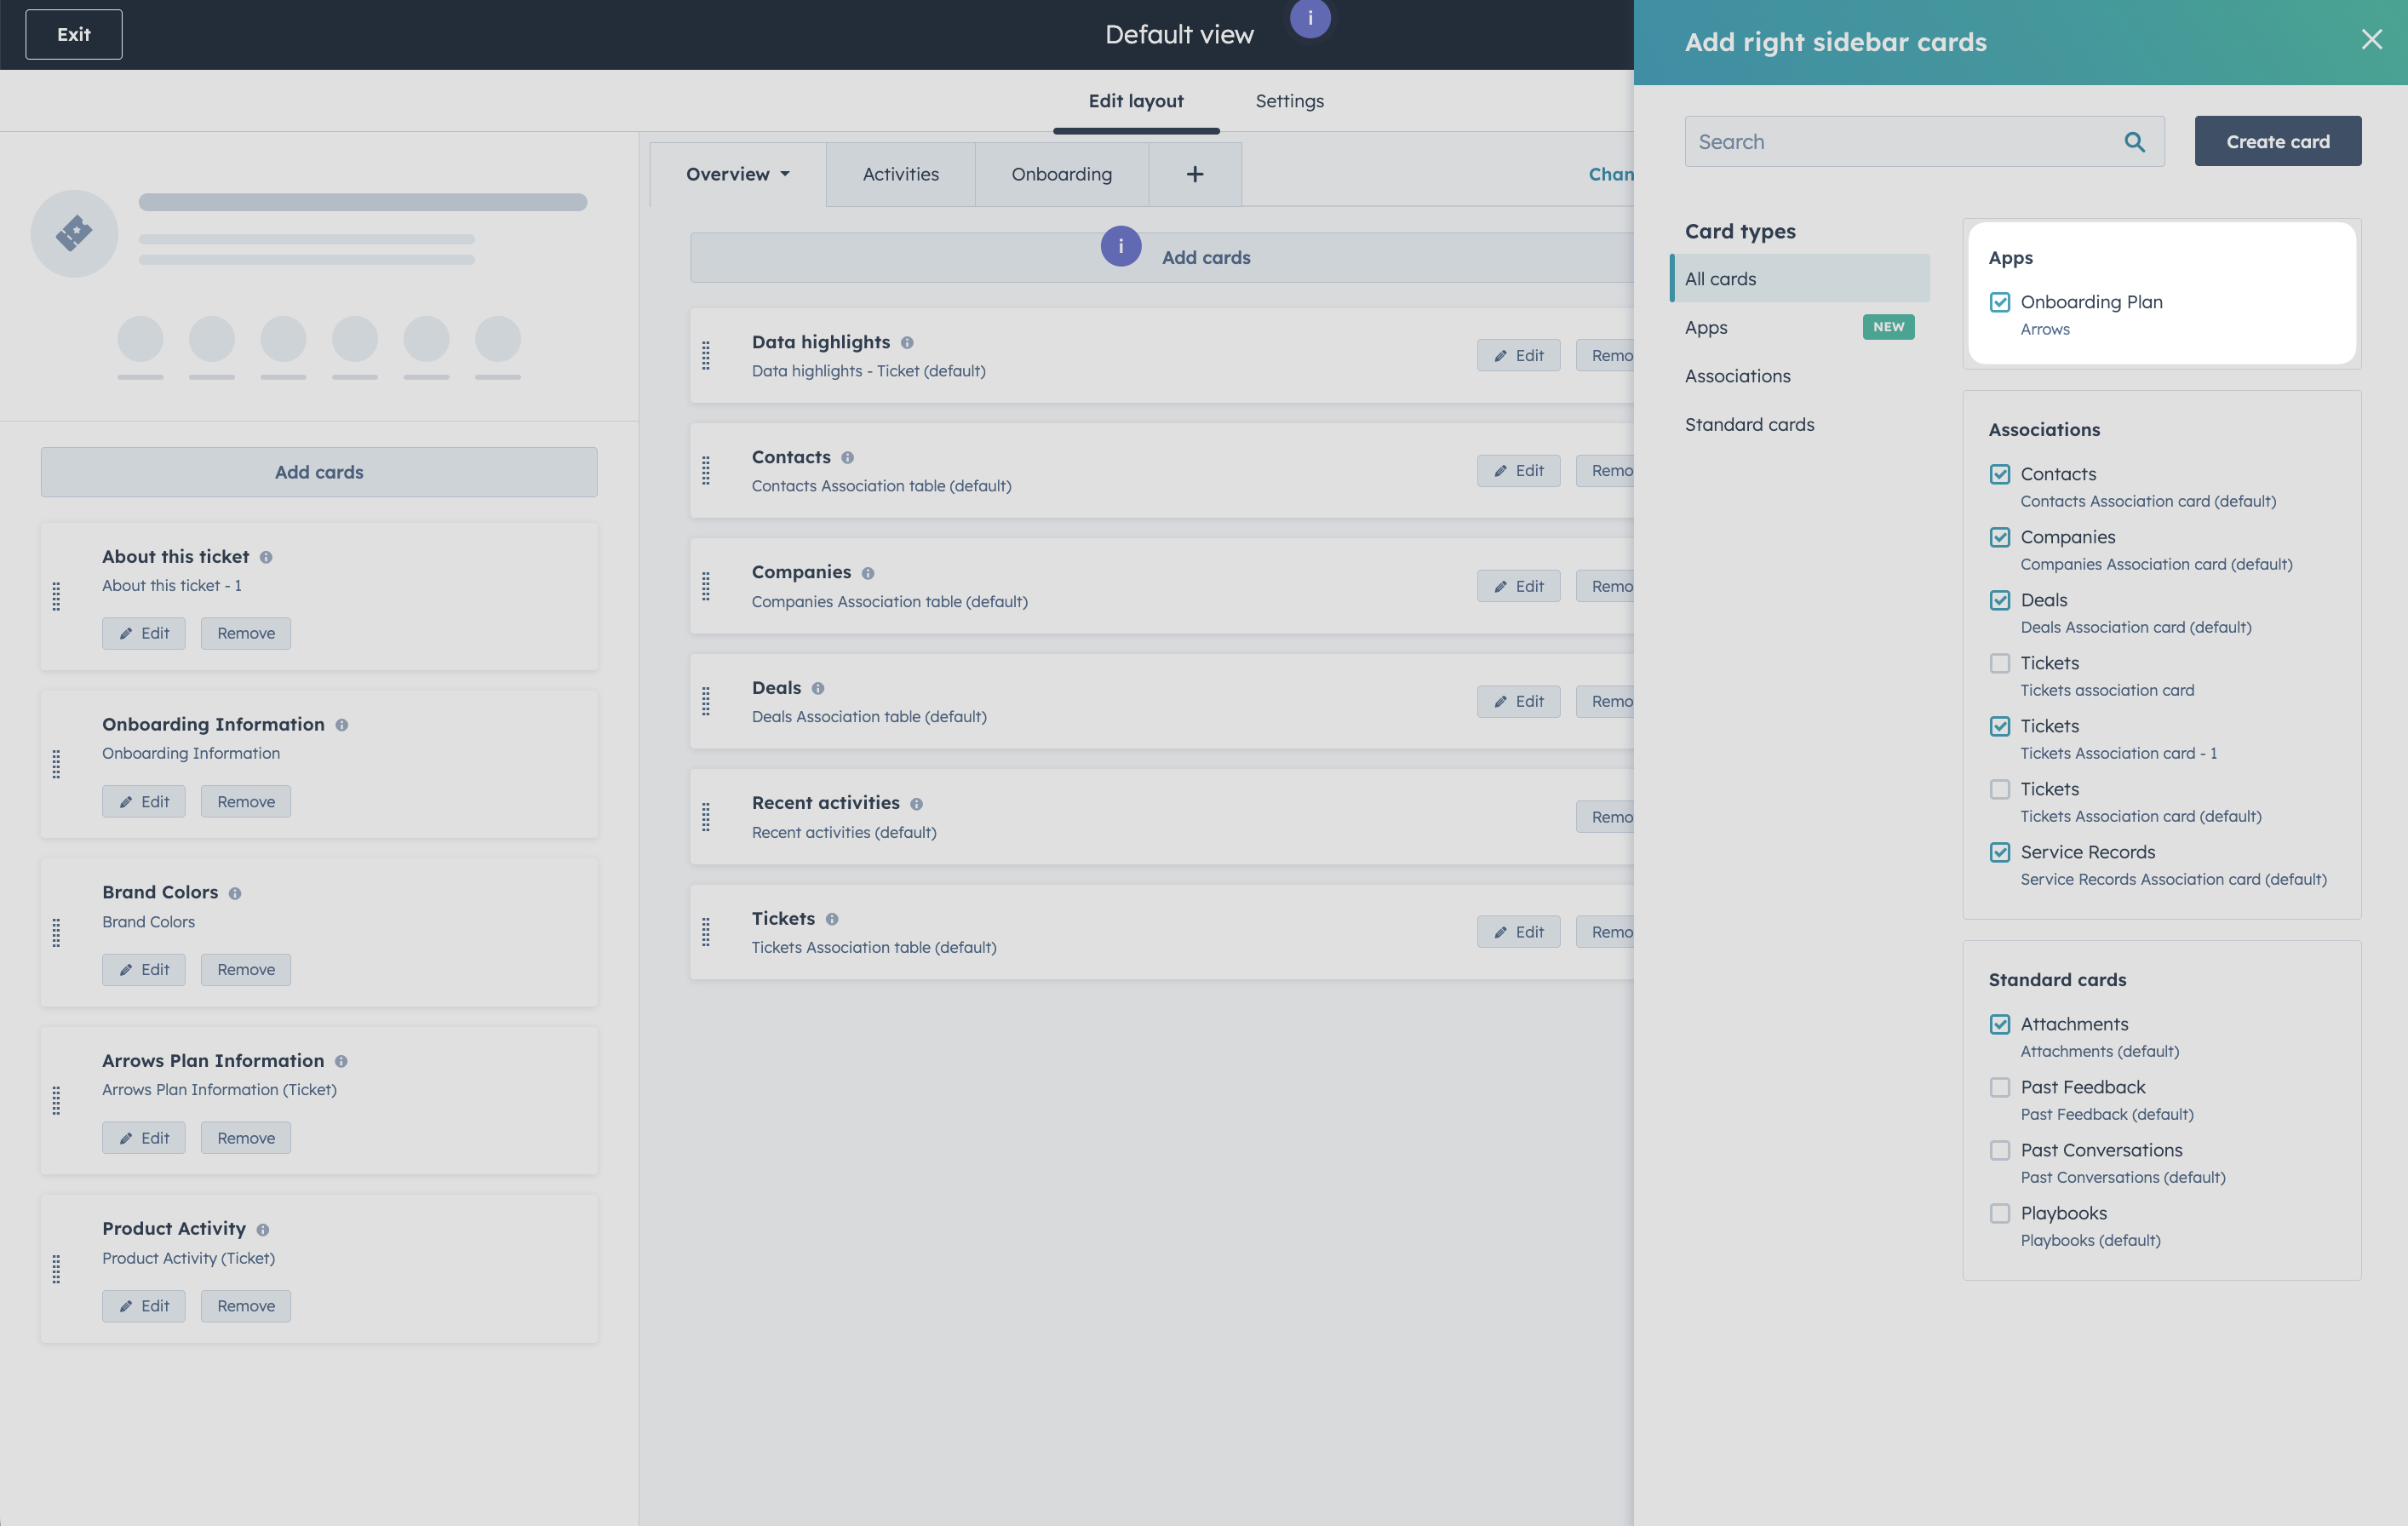
Select the Arrows card that you want to see and click on “Create card”.
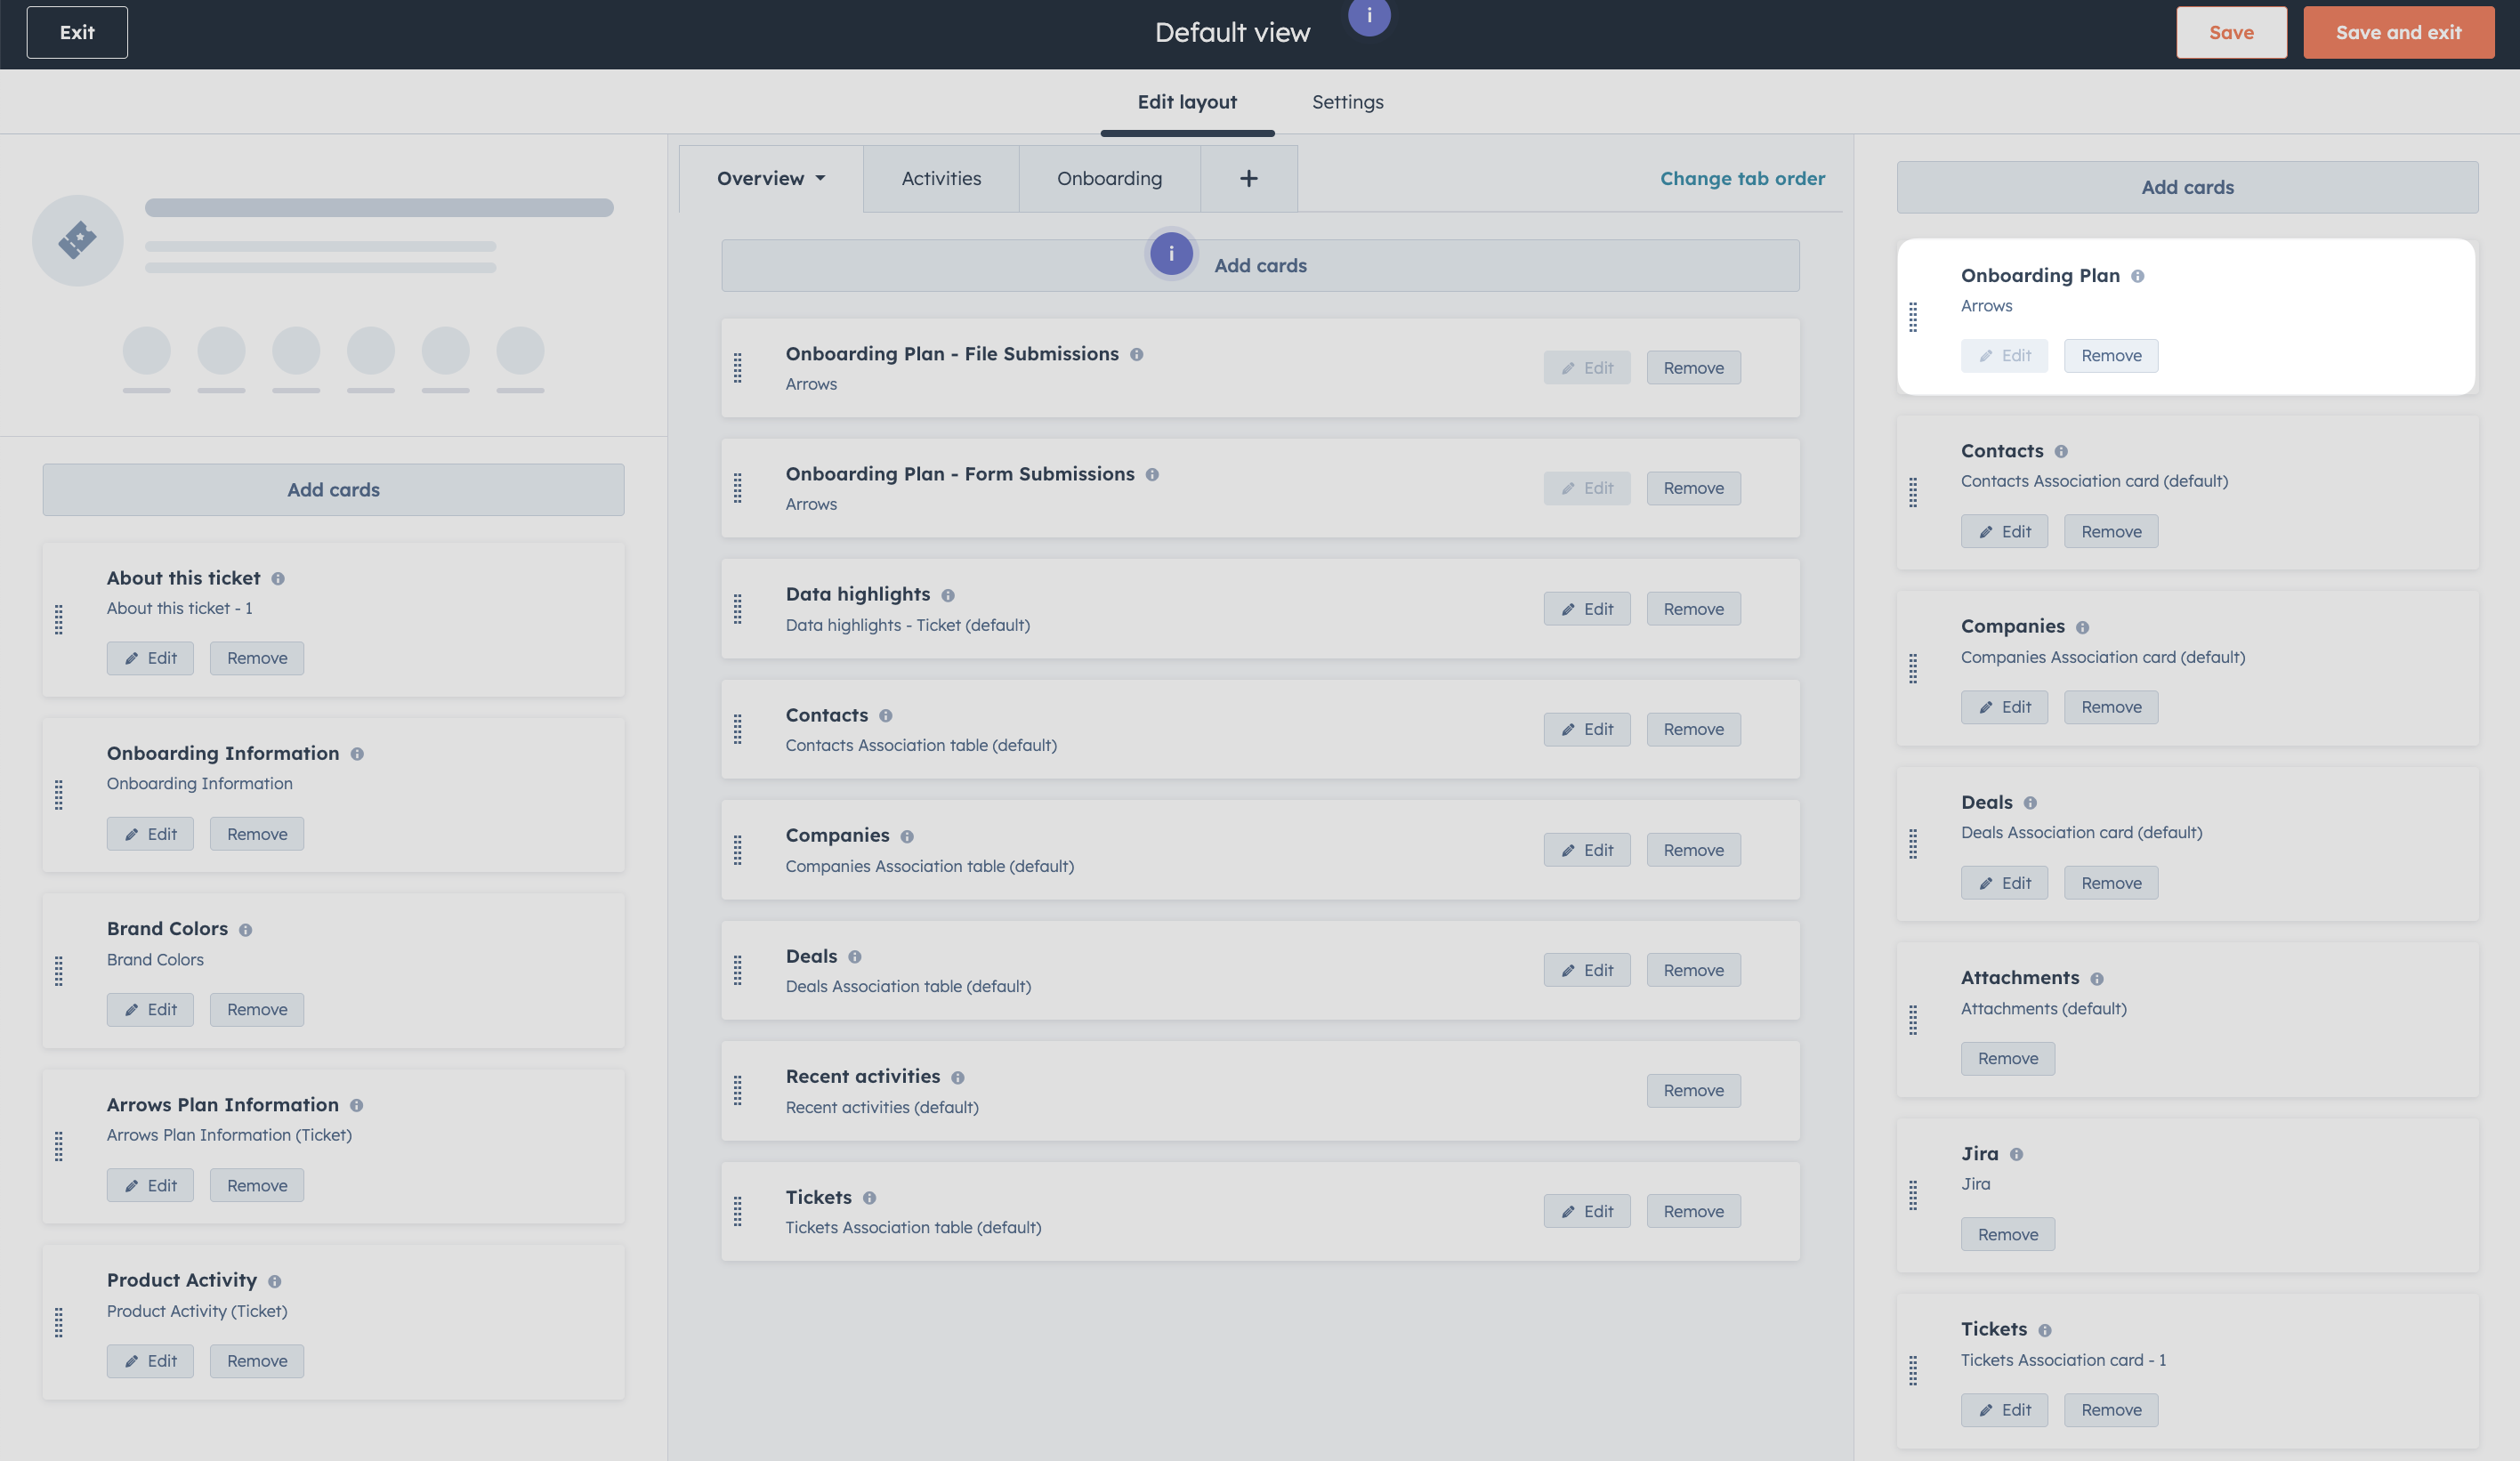
Now, you can reorder the card anywhere within the right sidebar.
Create and share Arrows plans inside HubSpot
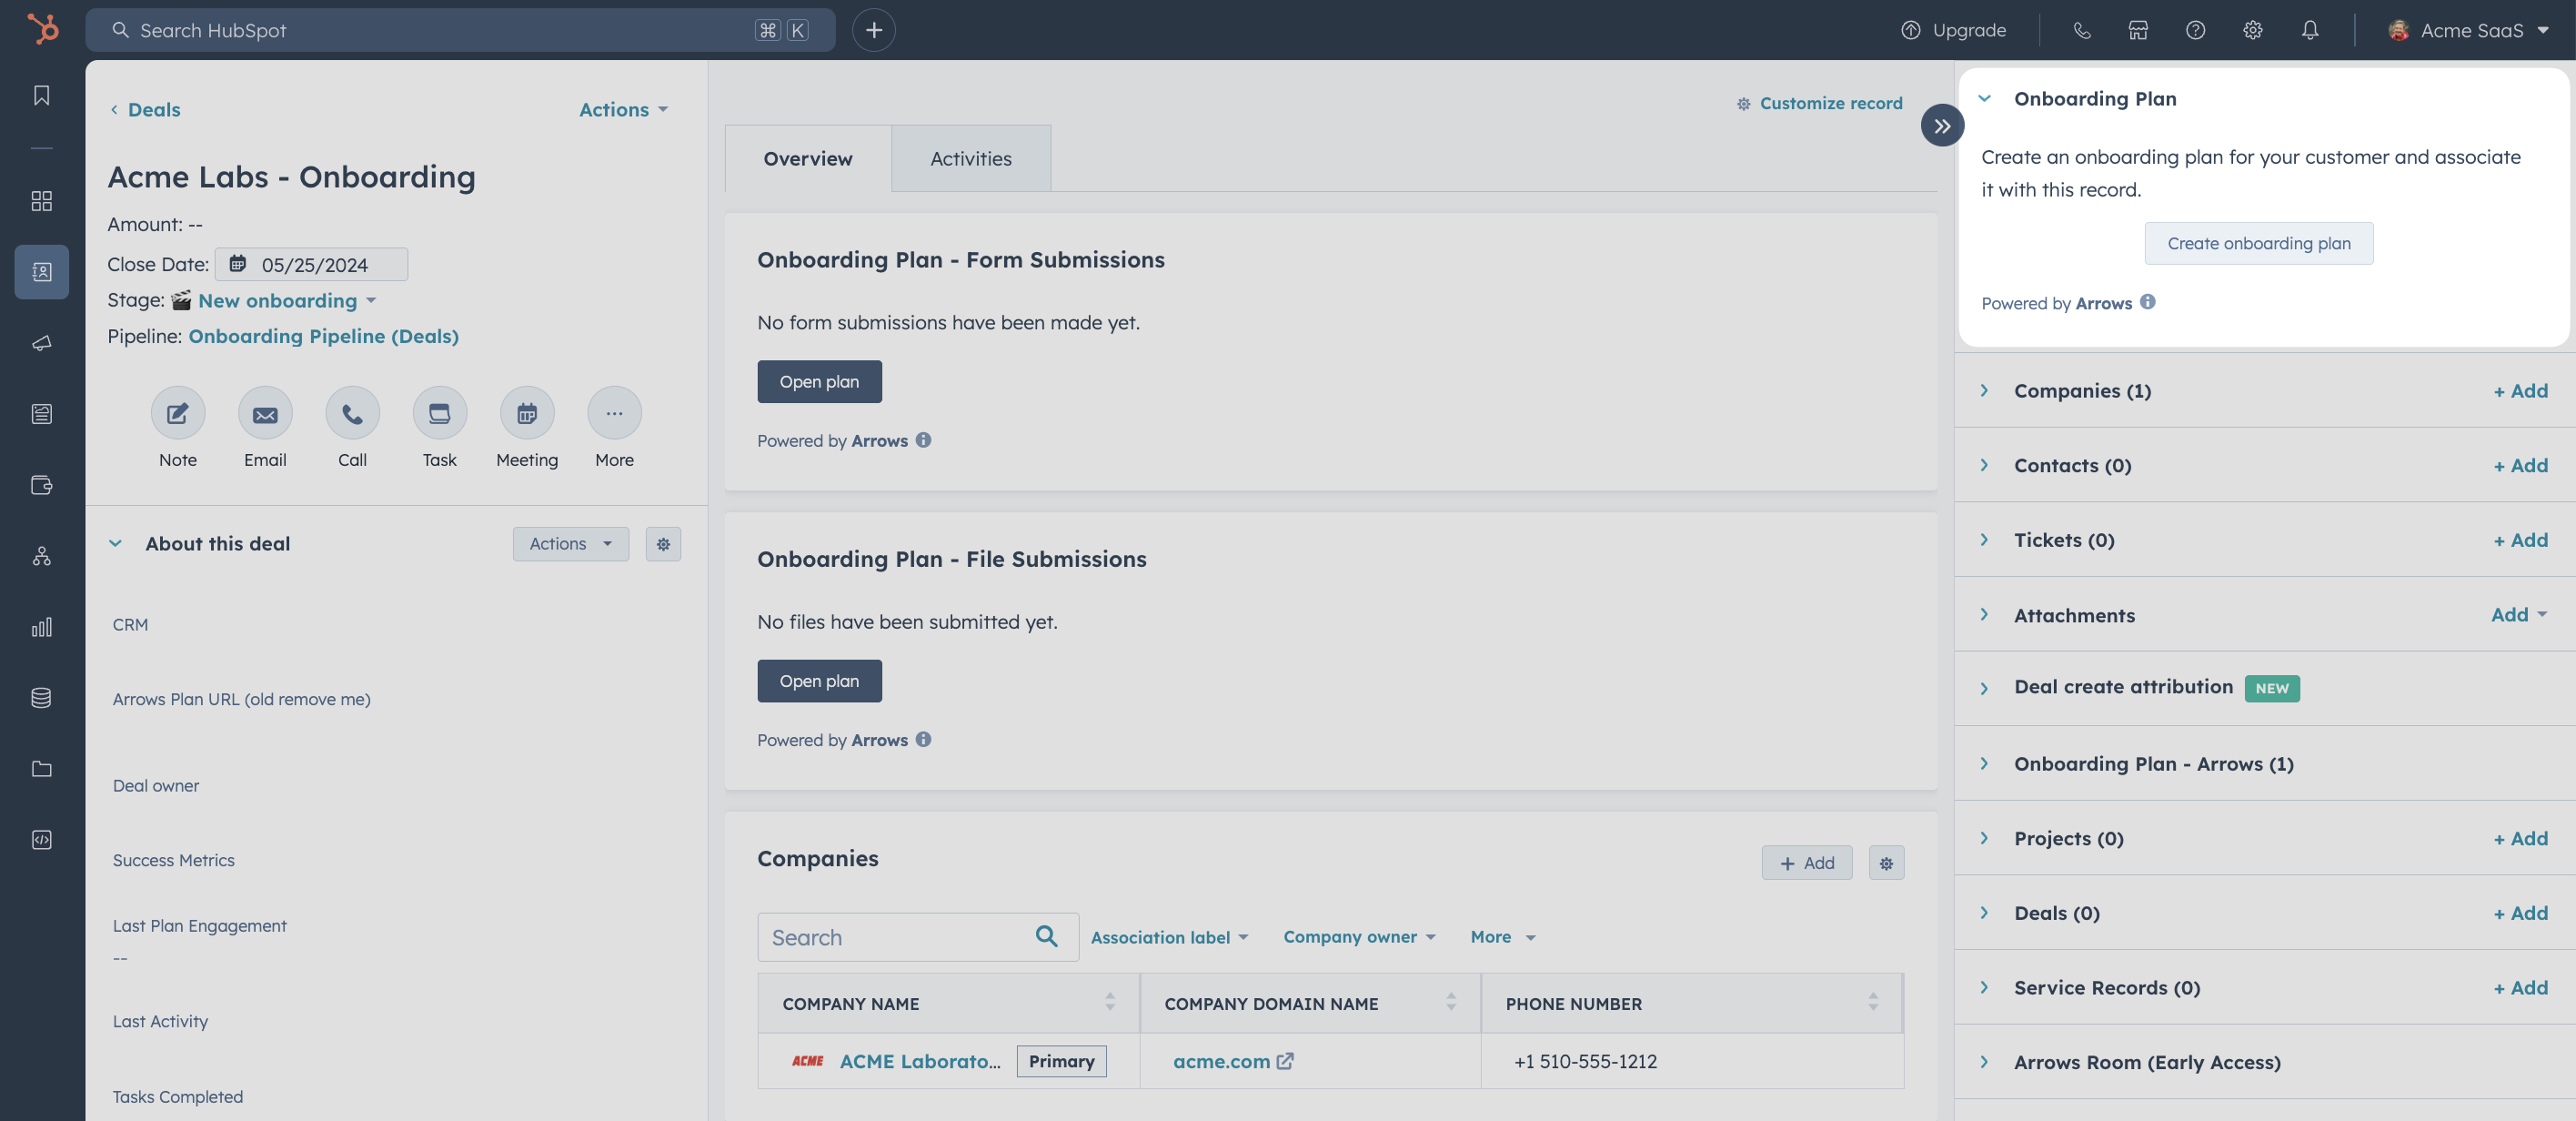
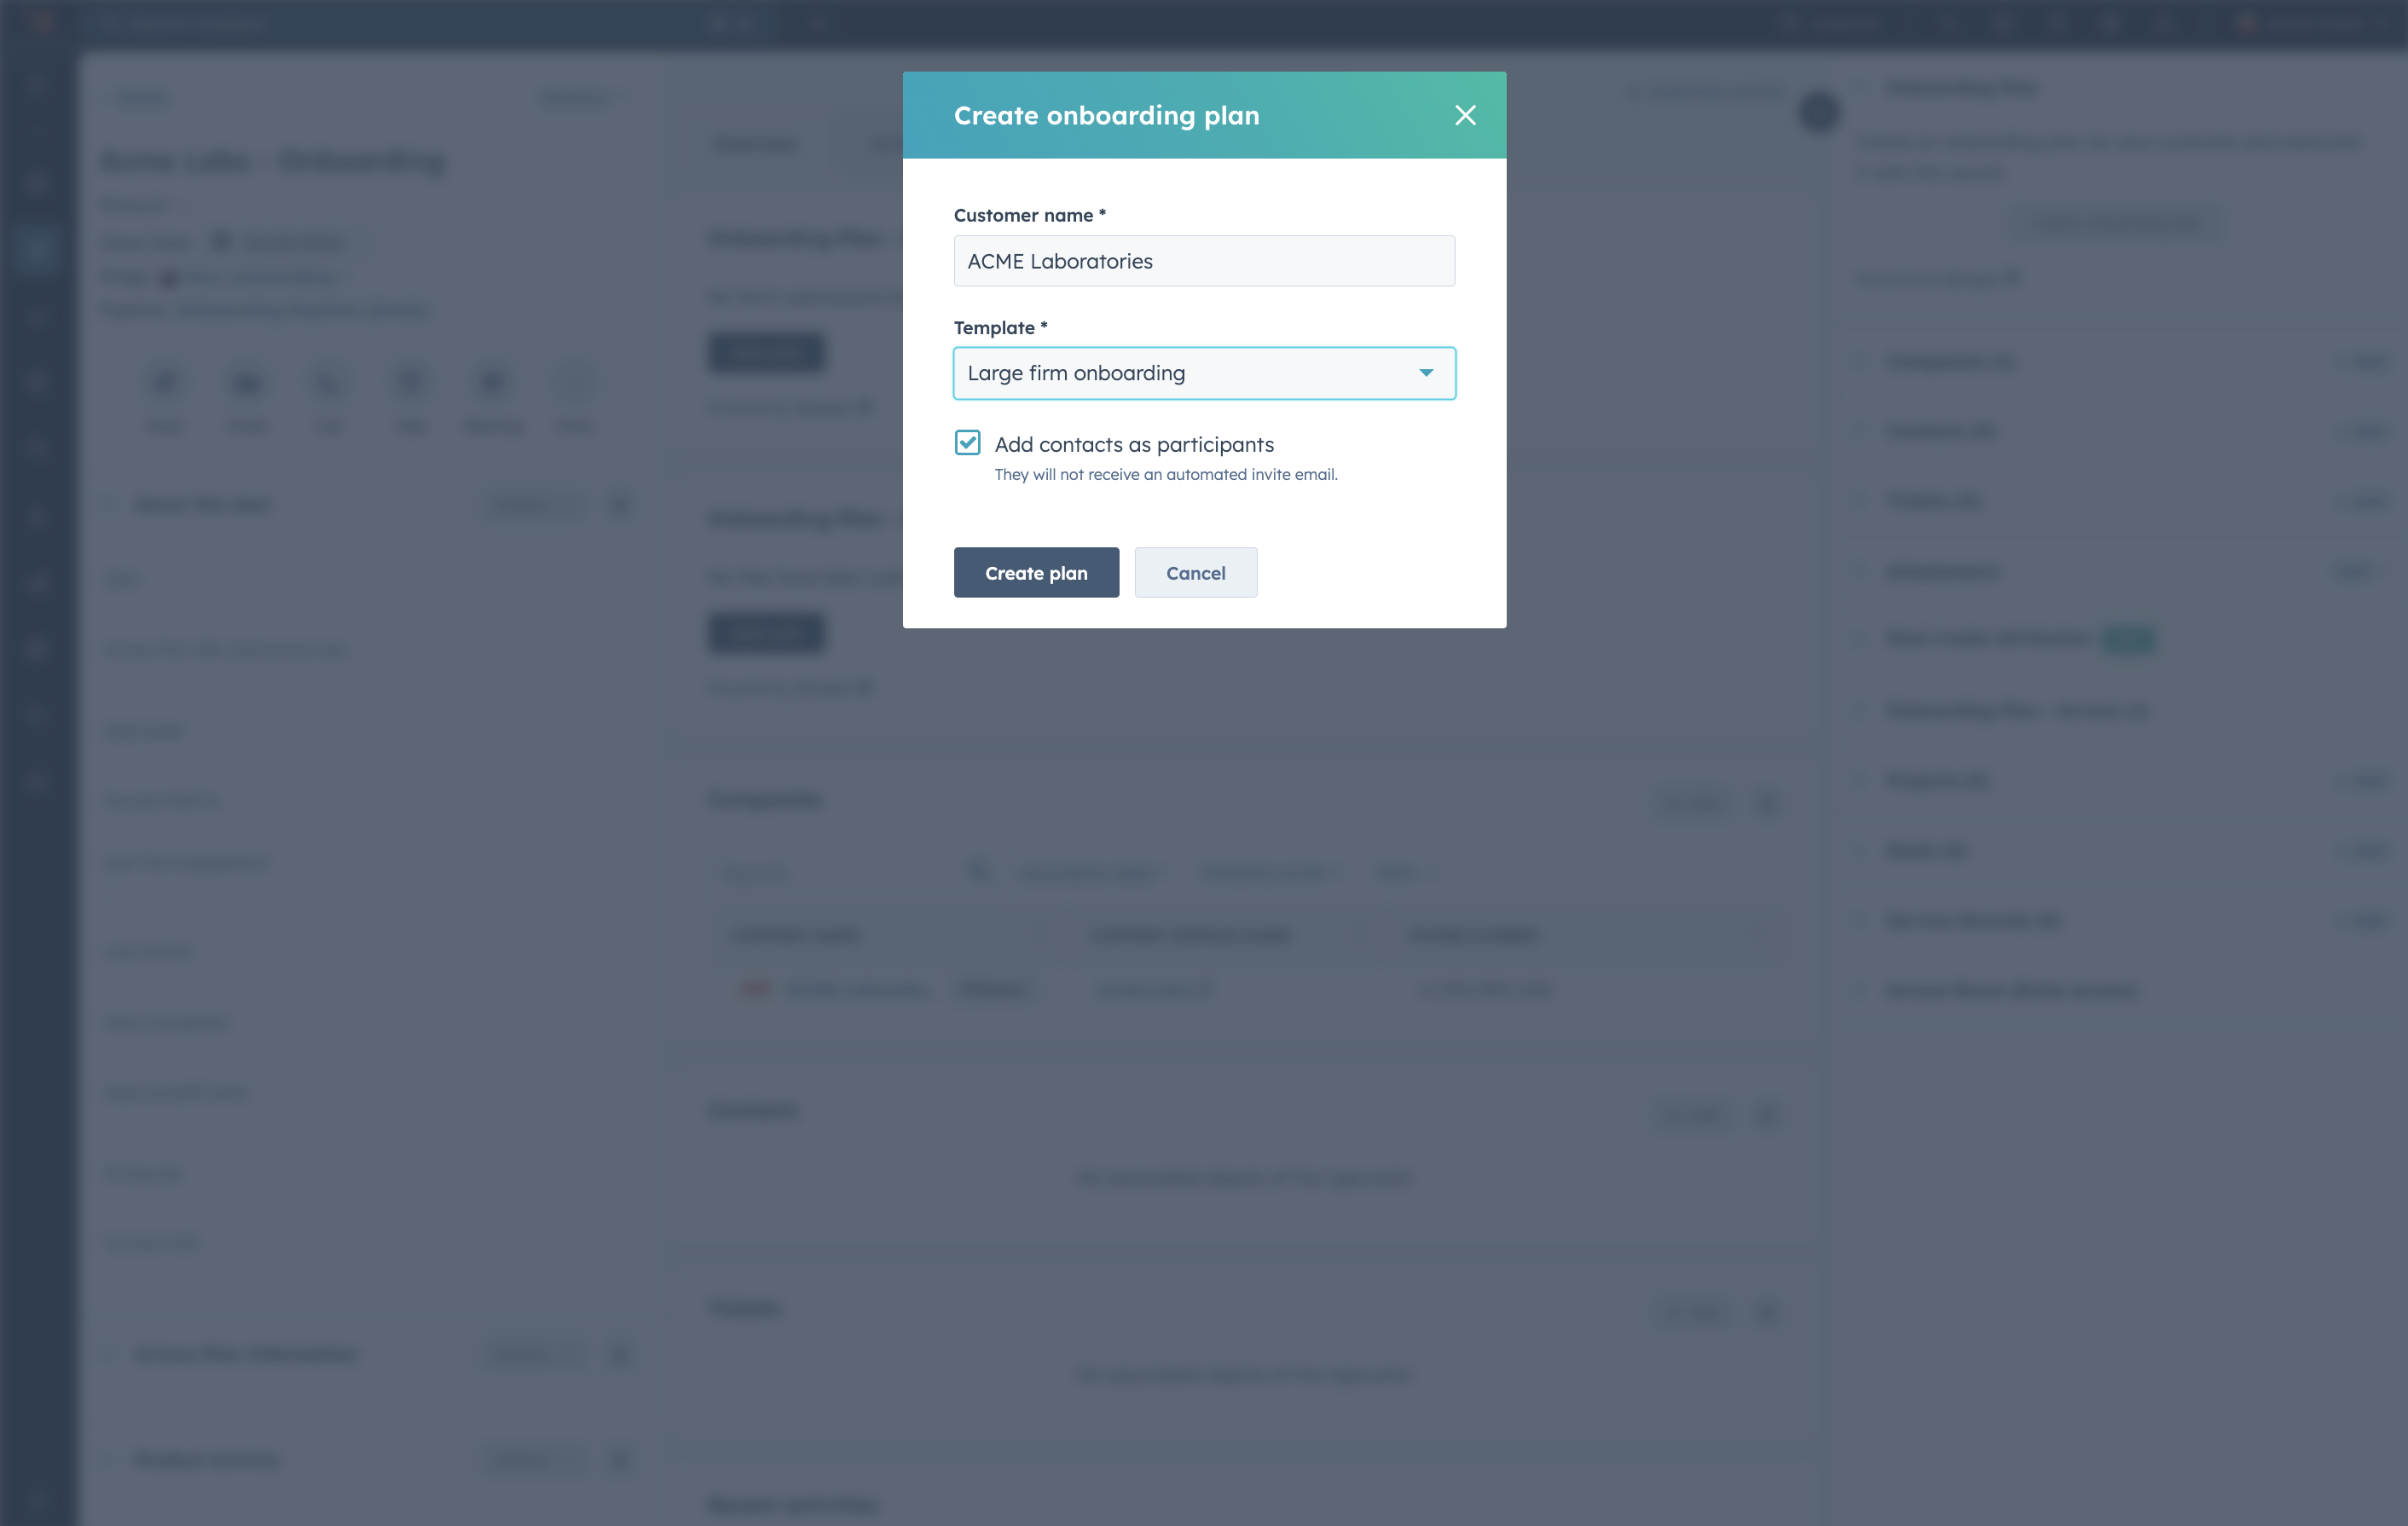
Open the deal record for your customer and select Create plan from the Arrows card
Update the customer name if needed, select the template you’d like to use, choose to add associated contacts as participants, and select Create plan
Return to your deal or ticket record in HubSpot to access the plan and real-time details on plan progress as your customer takes the required actions
Update Arrows plans with data from HubSpot
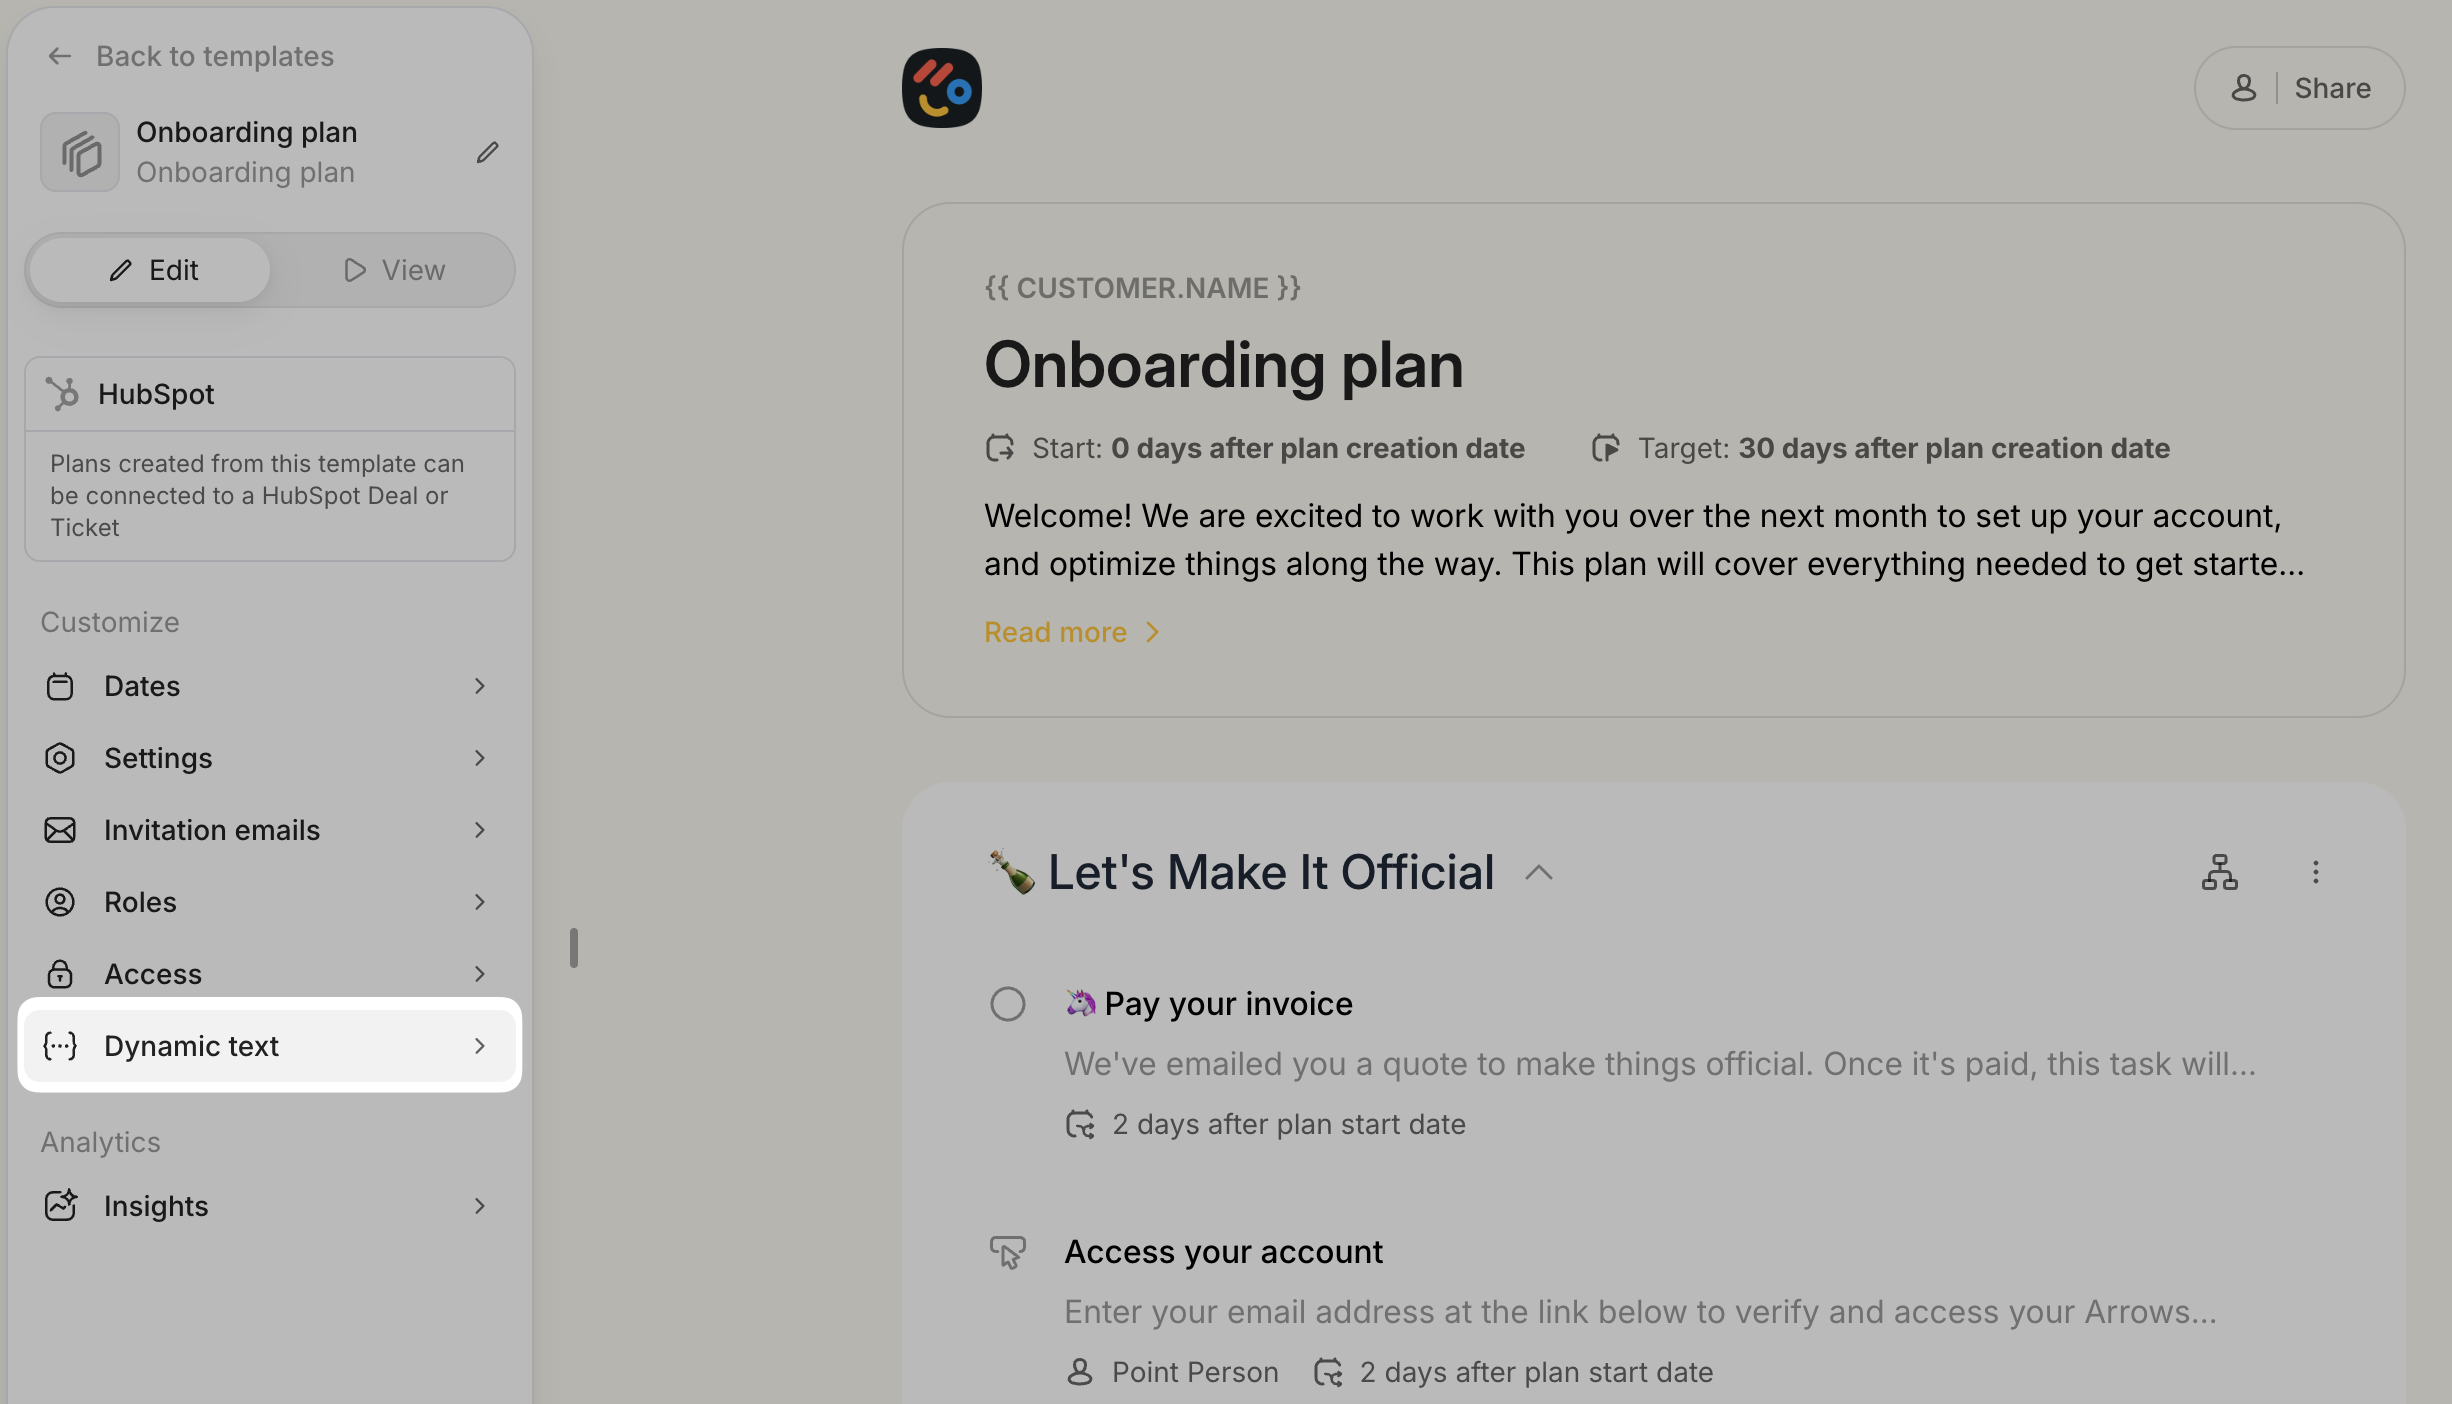
It’s easy to add dynamic text fields in your customer facing plans based on data in your Deals or Tickets in HubSpot (similar to personalization tokens in HubSpot)!
Within your Arrows template, click on Dynamic text
💡
Note: If you see both options for Deals and Tickets in this list, you’ll want to choose the object type that your Arrows plans will be associated with, as plans cannot reference more than one object at a time. For example, if you’ll connect your Arrows plan to HubSpot tickets, use the ticket attributes in this list.
To add dynamic text to your template, click on the copy icon next to the attribute you’d like to add, and paste it into a text field in your template
Update HubSpot with data from Arrows
In order to get the most out of Arrows, you’ll want to sync your Arrows plan data into HubSpot properties. You can then use these properties to enrich your HubSpot pipelines, give your internal teams visibility into Arrows plan progress, and power your HubSpot workflows and custom reports.
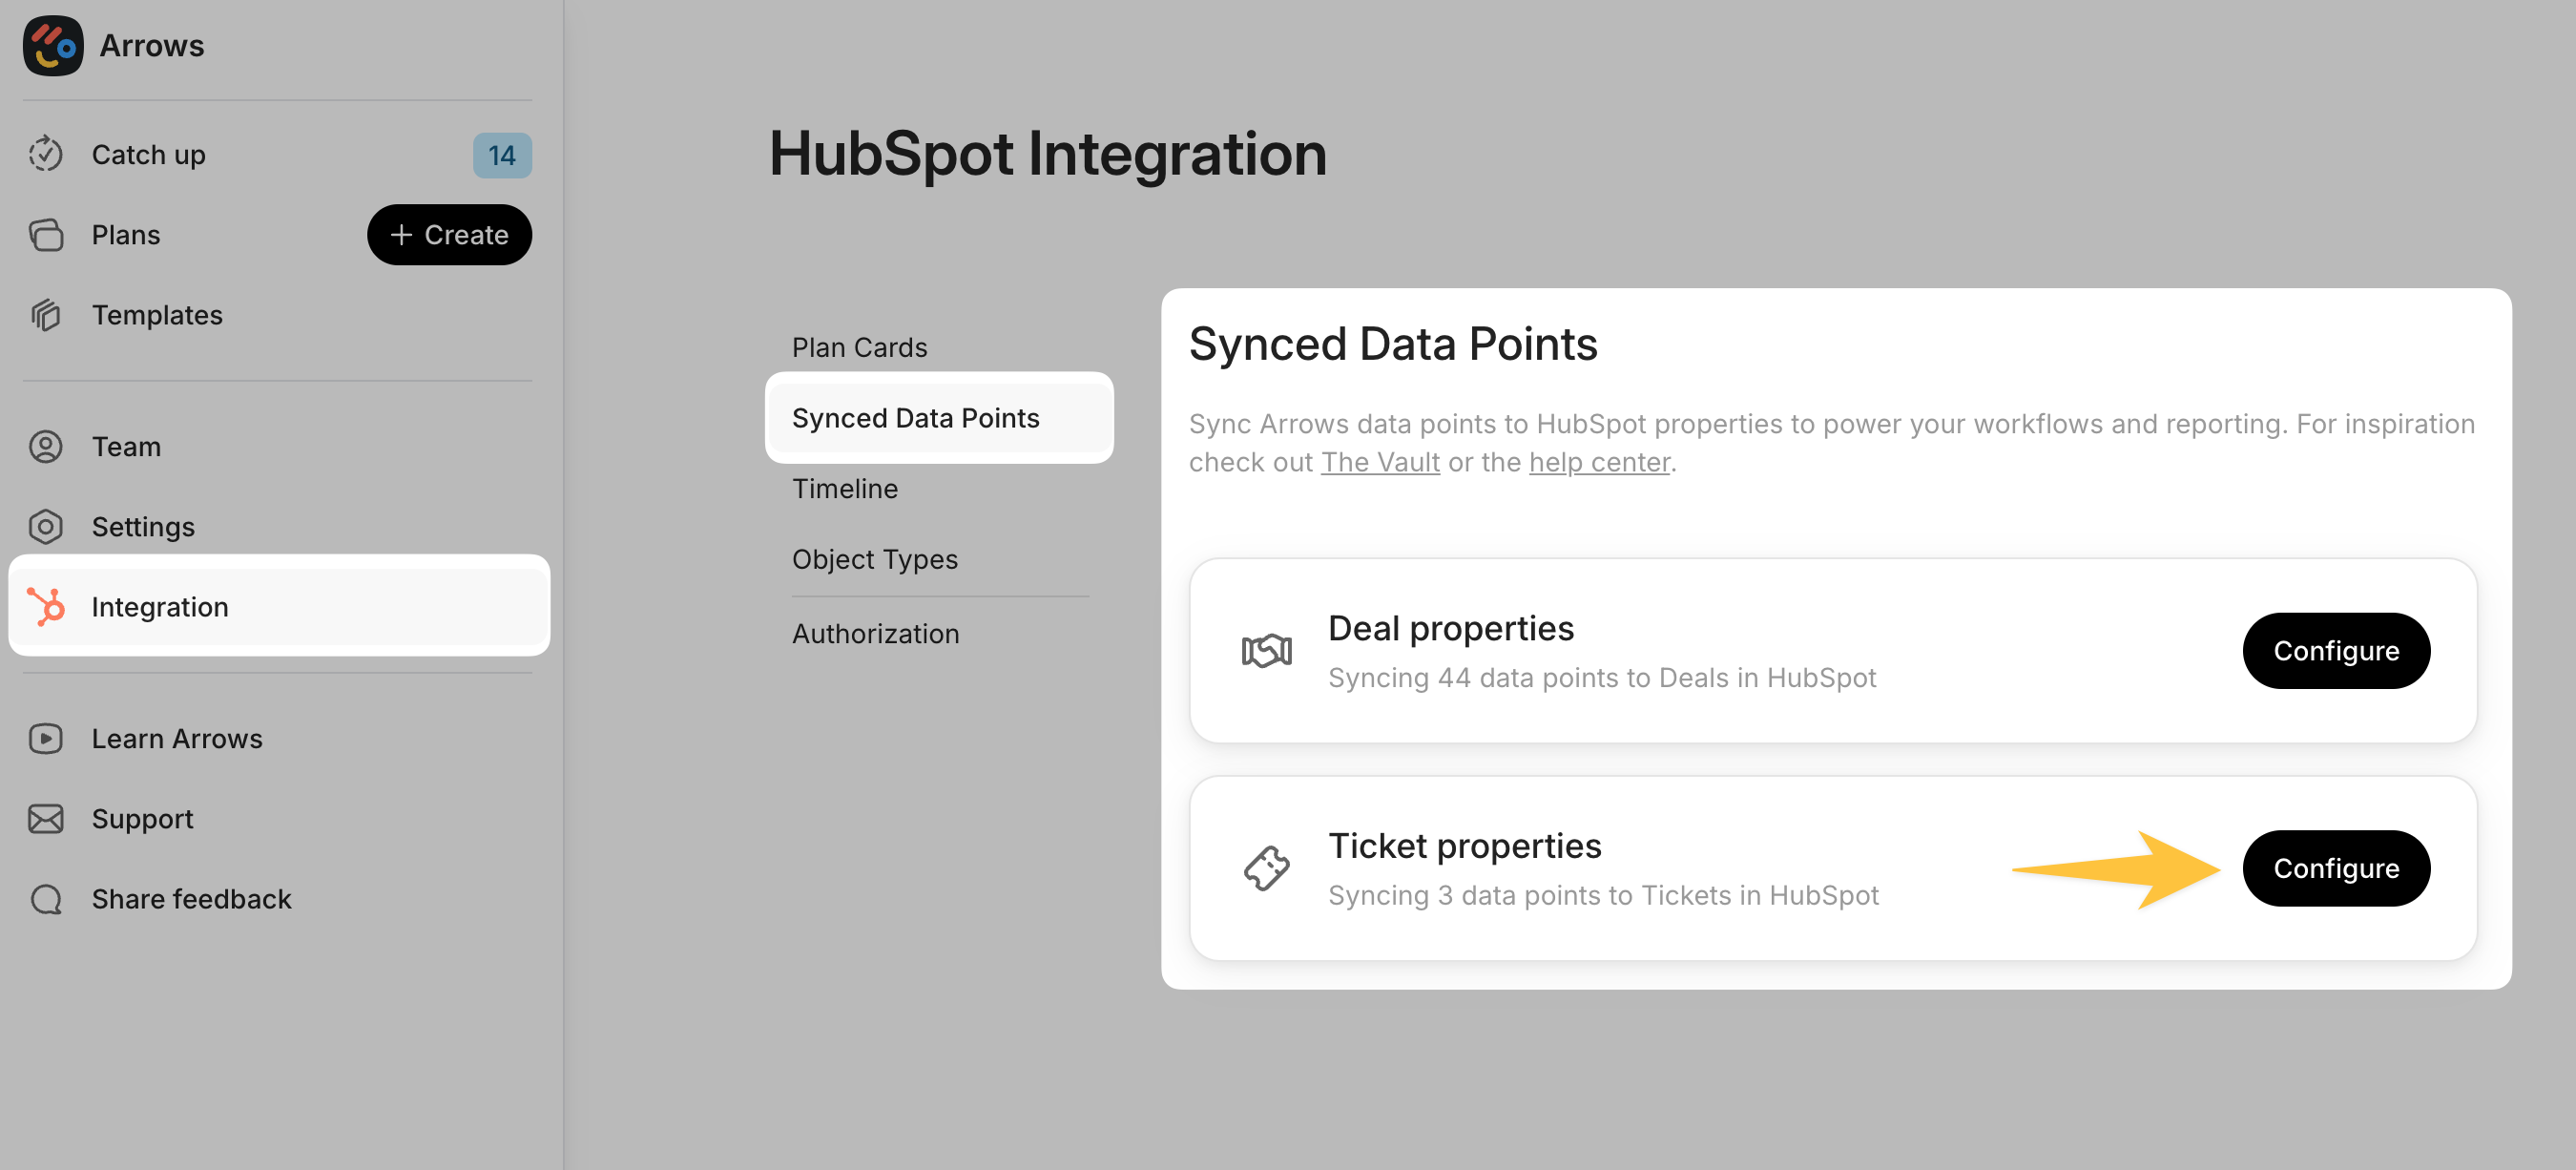
In your Arrows dashboard, head to the Integrations page and select Synced Data Points
Click the Configure button for whichever object type you’ll be using with your Arrows plans.
Each template/plan works with ONE object at a time. You’ll likely use one or the other to manage your onboarding process.
In this example, we’ll use Tickets.
Select the properties you’d like to sync to HubSpot
We recommend starting with a few you know you’ll need like Plan status, Current task name, and Plan URL - you can always come back to this page to add more properties again in the future!
Note: this will create new custom properties in your HubSpot account on that object, including a description and correct formatting to the synced data point!
You can now use Arrows plan data in the same way you’d use other HubSpot properties. Here are a few examples we recommend exploring.
Show Arrows properties in deal pipeline cards
Use Arrows properties in automated workflows
Create reports using Arrows plan data
🔐
For more advanced workflows and onboarding tips using Arrows and HubSpot check out The Vault