
Managing Customer Logos in Arrows
When you create a new onboarding plan or sales room in Arrows, we want it to feel like a premium, collaborative space for your customers. To do this, Arrows automatically attempts to brand the plan with your customer's logo.
This article explains how those logos are found, why some might be missing, and how you can manually update them.
How Arrows Finds Customer Logos
Arrows is designed to sync deeply with your CRM (HubSpot or Salesforce).
CRM Association: When a plan is first created, it is typically tied to a specific record in your CRM - that record is tied to a Company or Account record in your CRM.
Website Data: Arrows looks at the Website URL property on that company record.
Automatic Fetch: We use that website URL to search for and "fetch" a logo automatically.
Why is my logo a gray icon? If the CRM record is missing a website URL, or if the website doesn't have a public logo that our system can fetch, the logo area will remain blank. In your internal dashboard, this appears as a default gray building icon.
How to Update or Change a Customer Logo
If a logo is missing, incorrect, or you simply want to use a different version, you can update it at any time—even after the plan is live.
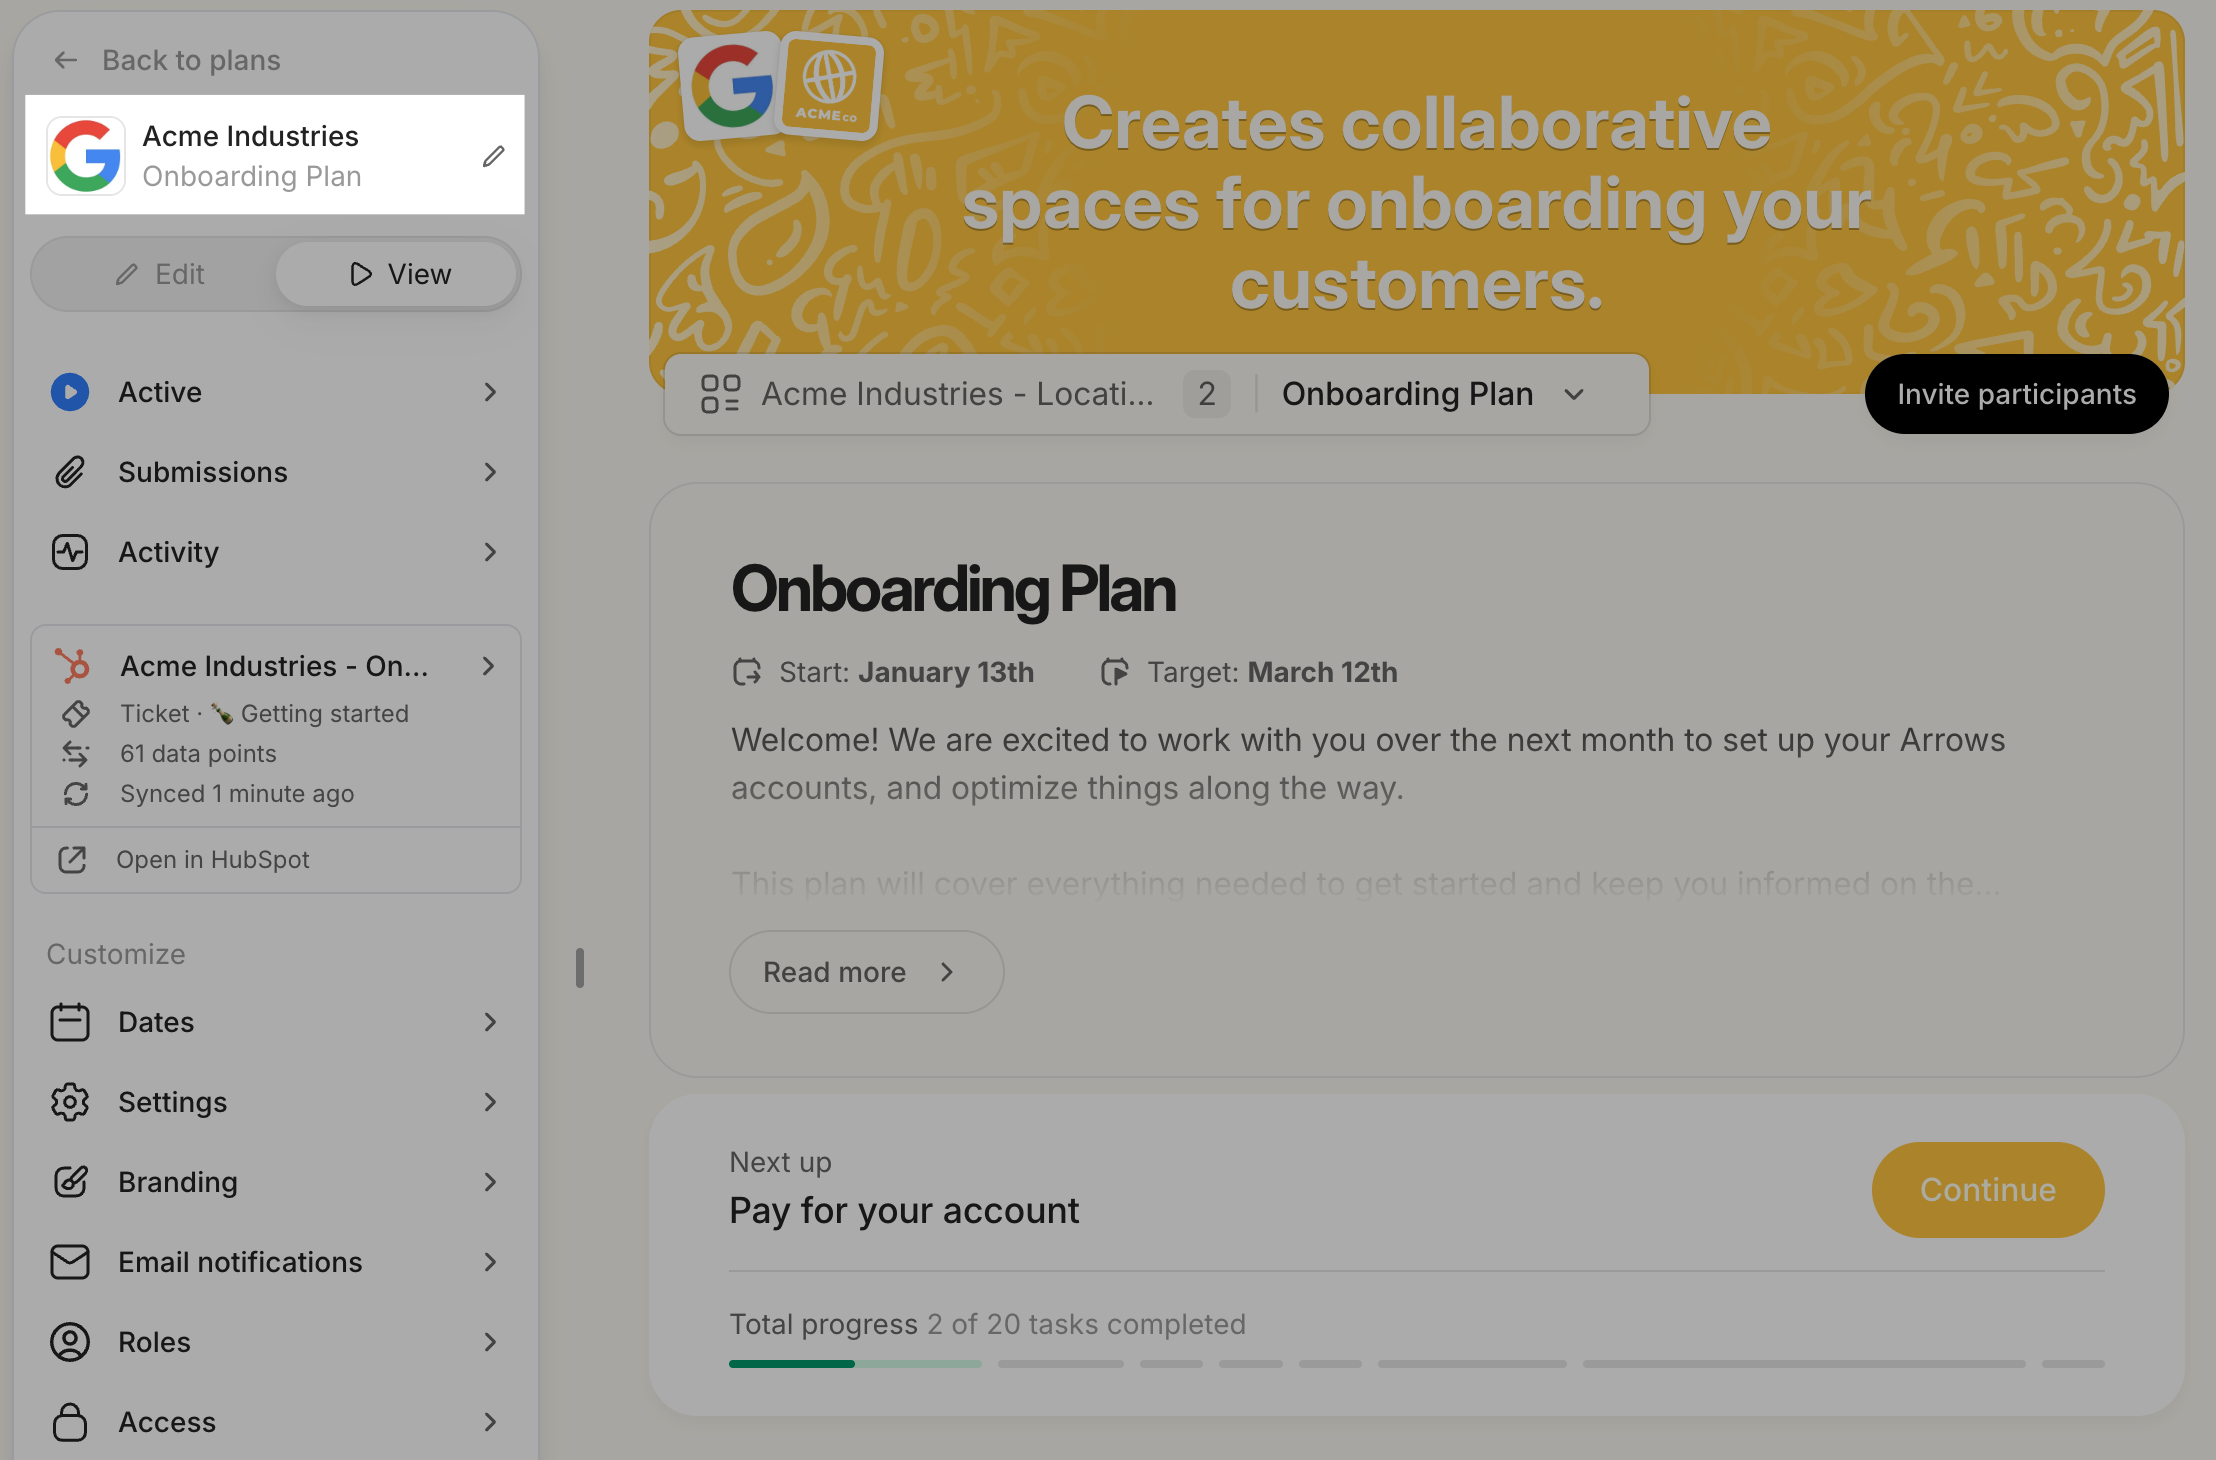
1. Navigate to customer details section by clicking the customer name in the onboarding plan or sales room menu (this is an onboarding plan example)
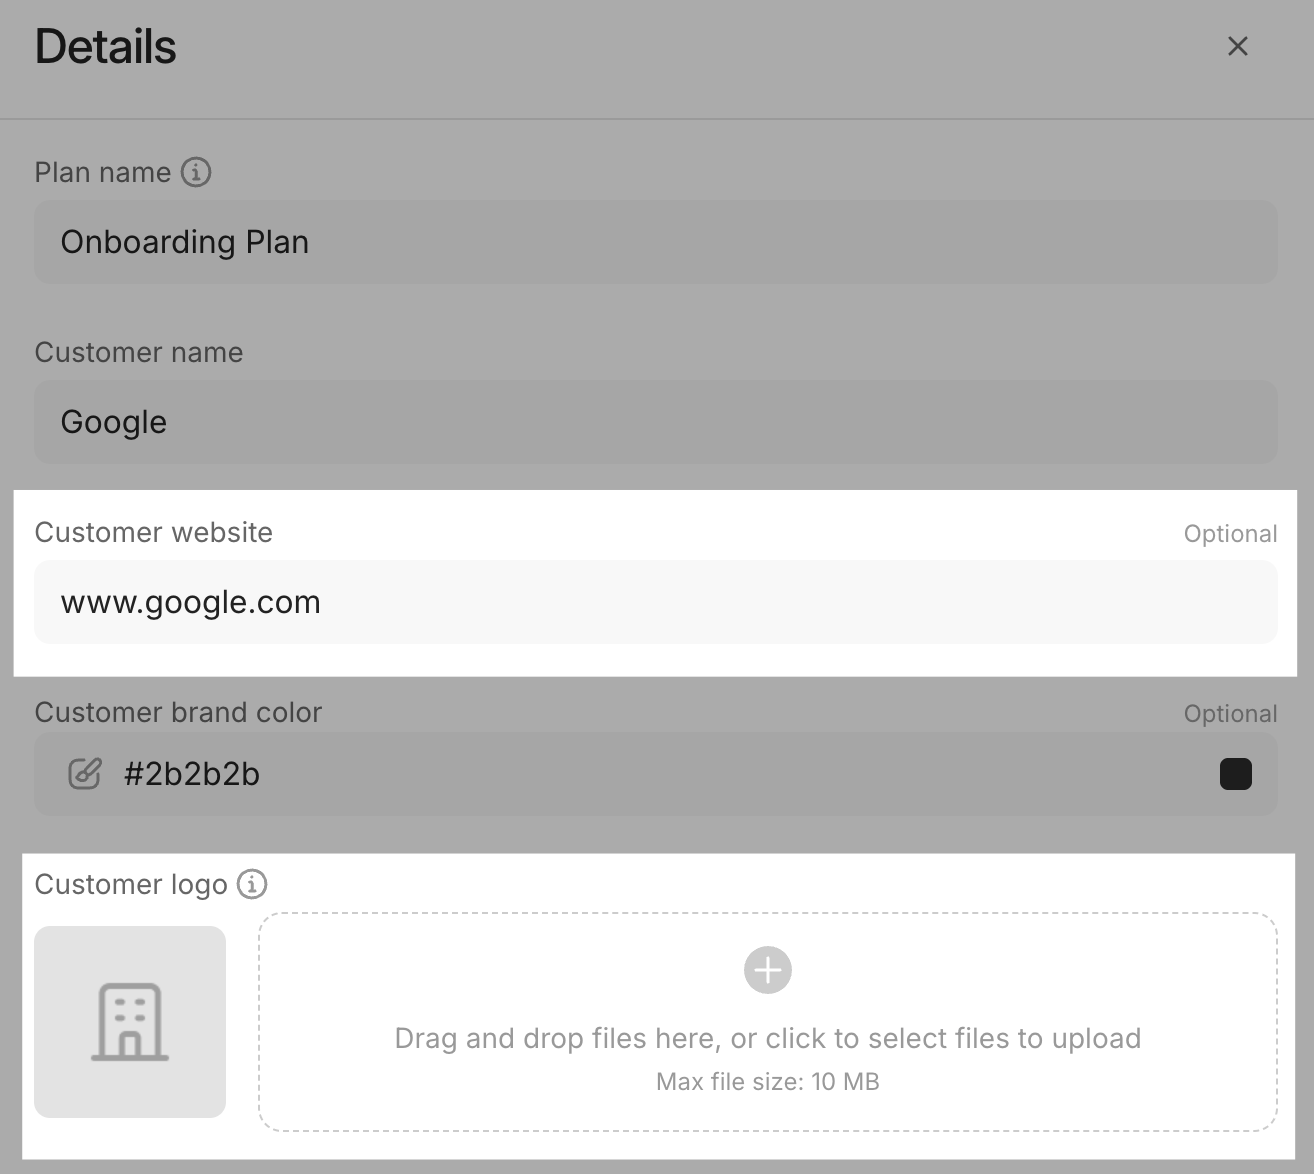
2. Update the Website URL
If the logo is missing because the website was never added:
Enter the customer's website URL in the Customer website field.
Arrows will attempt to fetch the logo based on the new URL.
3. Upload a Custom Logo
If the customer doesn't have a website (for example, if you are onboarding an individual) or if you want to use a specific image:
Upload that image to the Customer logo section
Select the file from your computer to manually set the image.
4. Remove a Logo Completely
If you prefer not to have any image at all, you can delete the website URL from the details section. This will remove the default gray icon and leave the space clean.
Where the Logo Appears
Once you save your changes, the new logo will be updated in two places:
The customer onboarding plan or sales room: Your customer will see their logo alongside yours in the collaborative header, making the space feel personalized to them.
The Arrows dashboard: Your team will see the logo in the plans page, making it easier to visually identify different customers at a glance.